How to build a cute waifu in VRoid Studio
Those seeking an easy way to build custom characters have been well-served in recent years. Between Kiss’ thoroughly NSFW Custom Order Maid 3D 2, Illusion’s equally lewd Honey Select Unlimited and Koikatsu Party, and now art community Pixiv’s perfectly wholesome VRoid Studio, designing your own perfect waifu or husbando has never been easier.

VRoid Studio is one of the latest to hit the scene, and one of the best things about it is that it’s completely free — you can download it on Steam right here. With that in mind, I thought I’d have a go at creating a new waifu and share the process with you all, since there are a number of aspects that are a little different from how other character creators work.
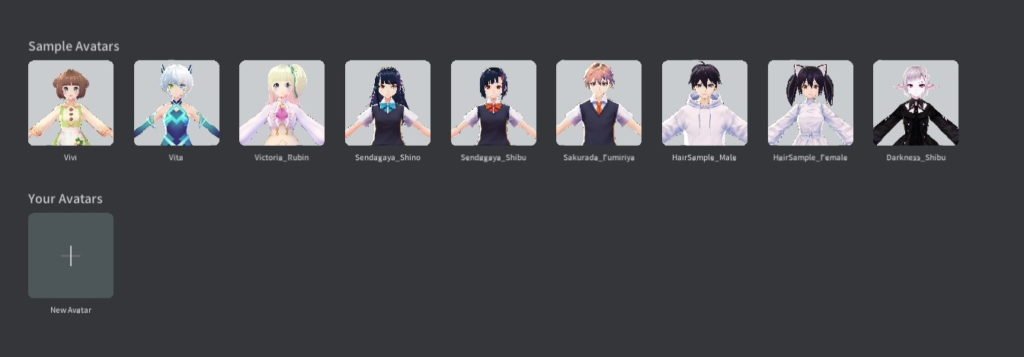
Upon starting up VRoid Studio, you’re given the option to either take one of the available sample avatars or to start from scratch with your own creation. There’s a decent variety of samples available for you to explore, including both male and female models, and these can all be used as a starting point for your own creation if you want.
Here’s one of the sample models included with VRoid Studio. Her name is Victoria. The jaggedy edges are due to her being rendered in low-detail mode; later in the process you can apply effects such as anti-aliasing, bloom and blur to make the models look a little less “artificial”.
Choose to start from scratch and you’ll be given the option of starting from a female or male base model. The default VRoid Studio model comes with a school uniform outfit (which can be removed or replaced) and a simple hair texture. In case you were wondering, naked characters don’t have any nipples or genitals. If you weren’t wondering, well, now you know anyway. These things are important.

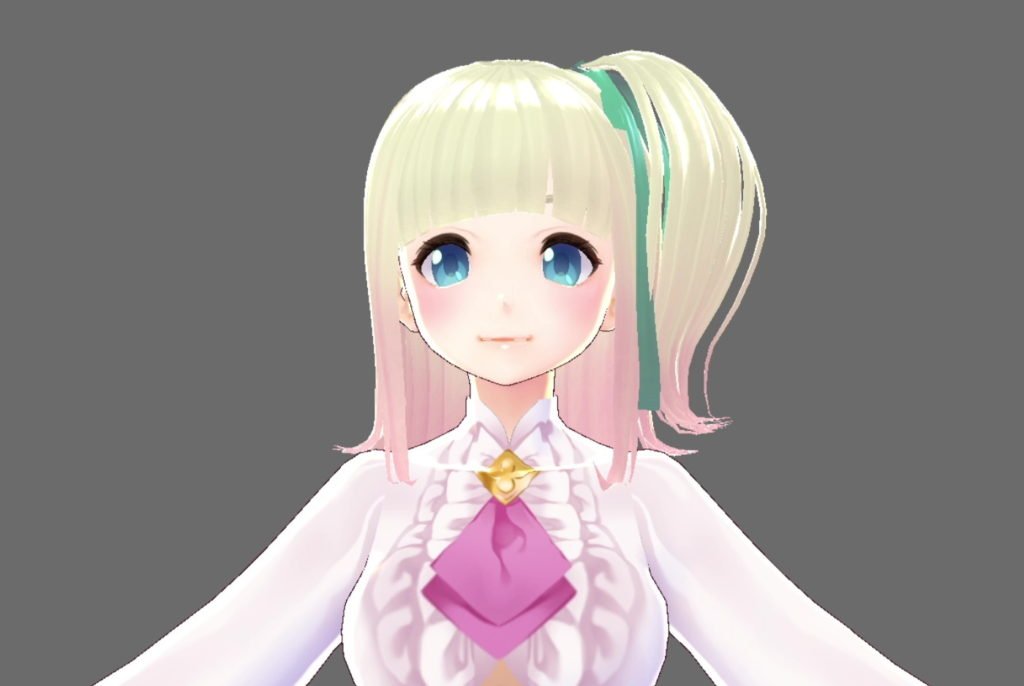
Here’s the standard, default female avatar for VRoid Studio — fairly generic and easy to customise. Rather peculiar default hair colour, but this an anime-inspired piece of software, after all.
VRoid Studio features a large number of sliders for customising you characters. Here we’ve fiddled around a bit with the eye shape and iris position. Using these, you can create a variety of default expressions; here we’ve gone for a sort of “haughty indignance” — the sort of look you’d get before being stepped on. Probably.
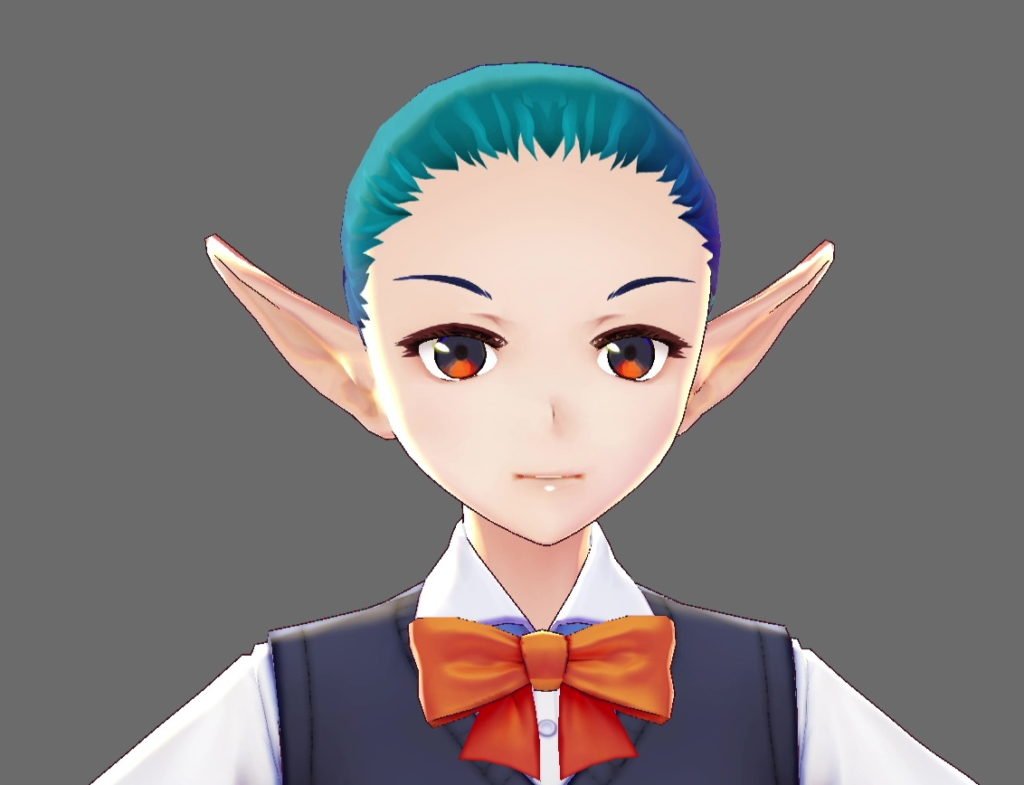
Fans of non-human characters will be pleased to note some extensive ear customisation options in VRoid Studio. Not only can you make pointy ears like shown here, it’s also possible to make them stick out to the side or droop down. You can also combine these various settings to get them looking just the way you want.

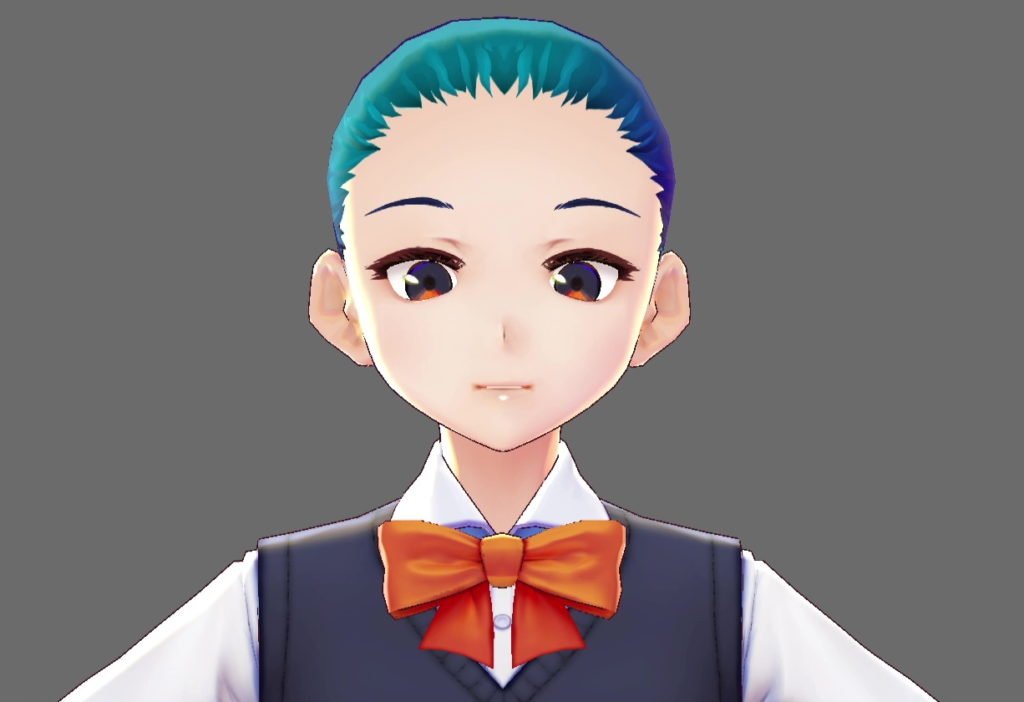
As part of the design process, you can set up default expressions for your character using a selection of sliders. These affect eyebrow, eye and mouth positions, and can be mixed together to produce hybrid expressions. You can also apply various vowel “sounds” to the mouth to make it form different shapes; adding a touch of “E” to the mouth is a good way to get a grin with visible teeth, for example.
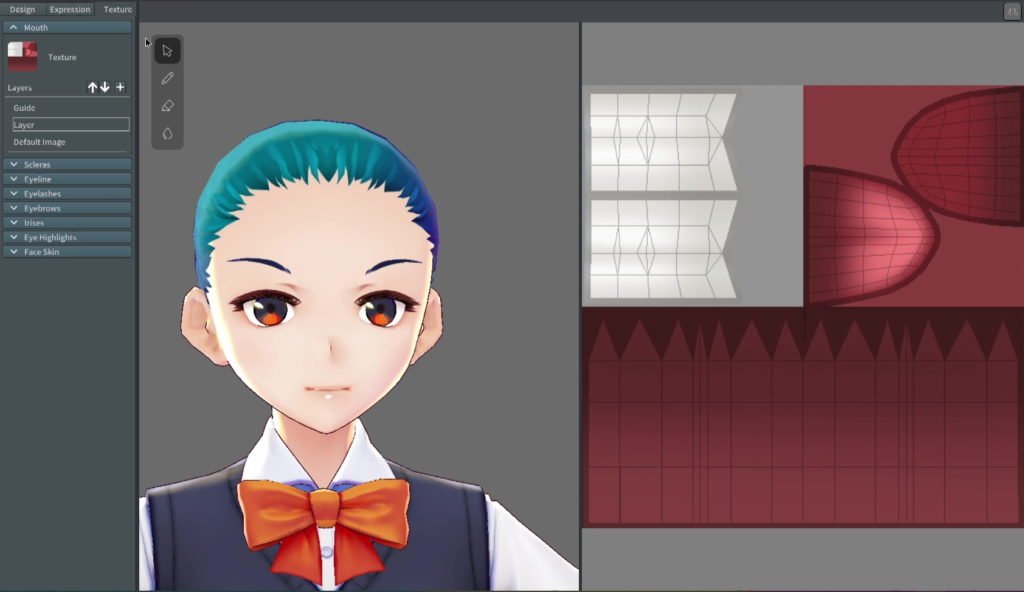
One of the most powerful aspects of VRoid Studio is how it gives you the ability to edit textures on pretty much anything. And I really do mean anything; here we’re looking at the textures used inside our character’s mouth. You know, in case you had any sort of specific requirements in that area. No judgement here.
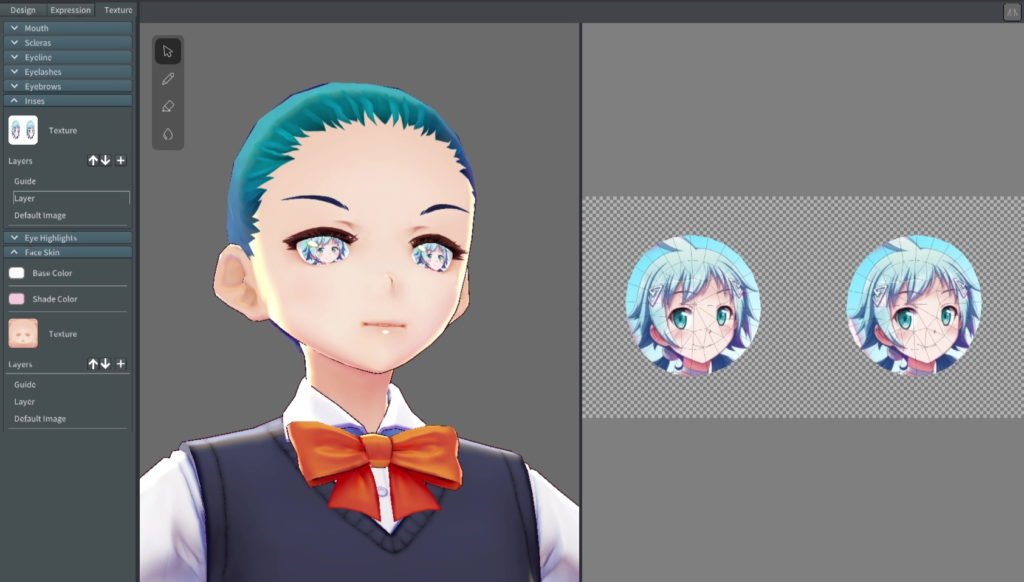
Texture work in VRoid Studio uses Photoshop-style layers, each of which can be exported as an image file and fiddled around with in another application. You can also draw directly onto the layers within the app itself. Here, I exported the helpfully included “Guide” layer and used it with Paint.net to overlay some images of Ekoro from Gal*Gun on our character’s irises. Because why not? Don’t forget to get rid of the guide layer before you import your image back to VRoid Studio, otherwise your character will have all-black eyes!
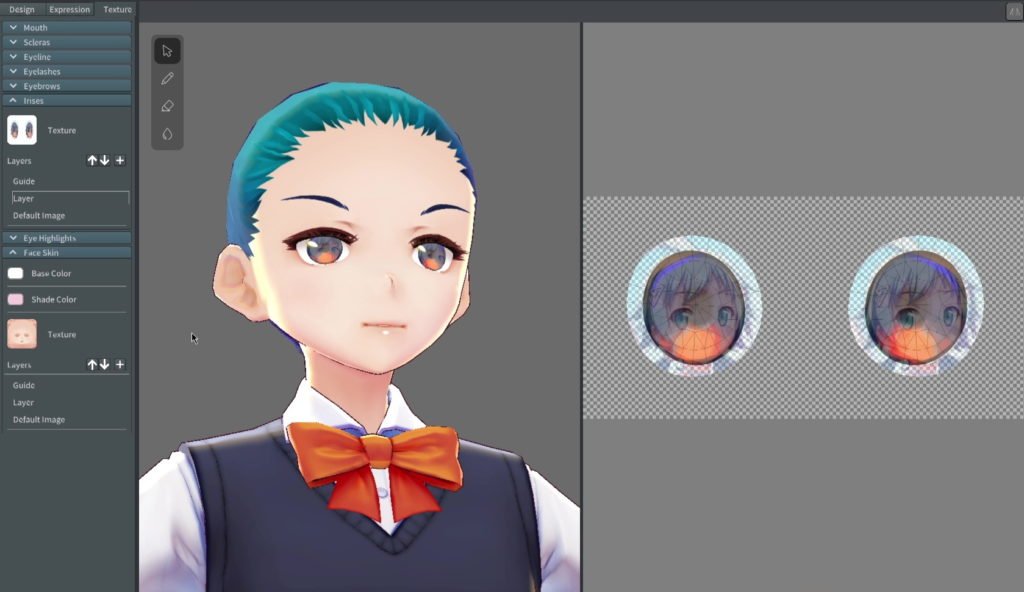
VRoid Studio also features Photoshop-style blend modes in the texture editor, allowing you to make your additions a little more subtle. Using the Screen blend mode, it now just looks like our character has Ekoro reflected in her eyes, rather than Ekoro being literally in her eyes.
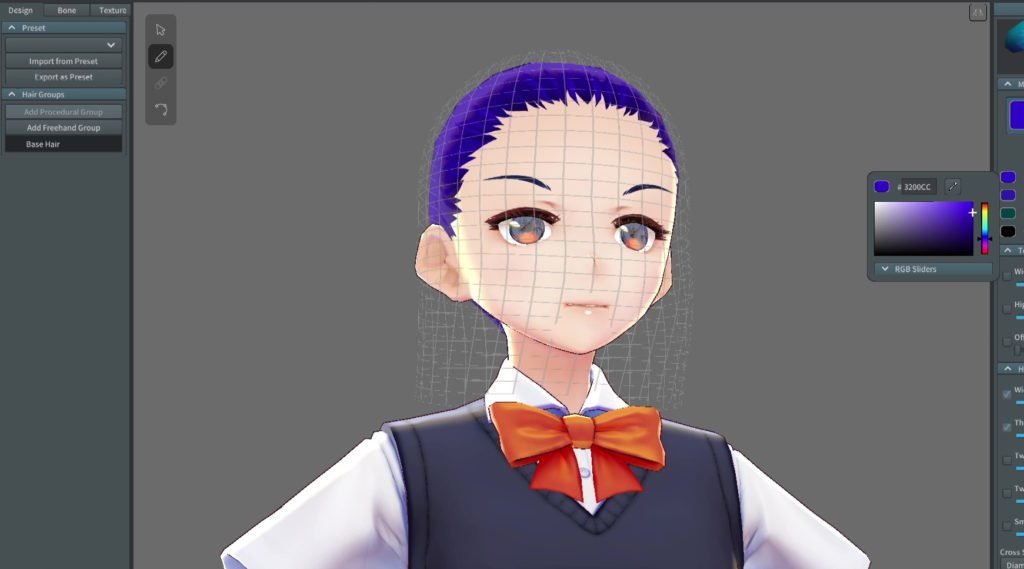
Next job is hair. The first thing you’ll probably want to do is set up some base hair colours for the hairline that’s already there. You can set colours for the hair, its highlights, its shadows and its outlines independently of one another.
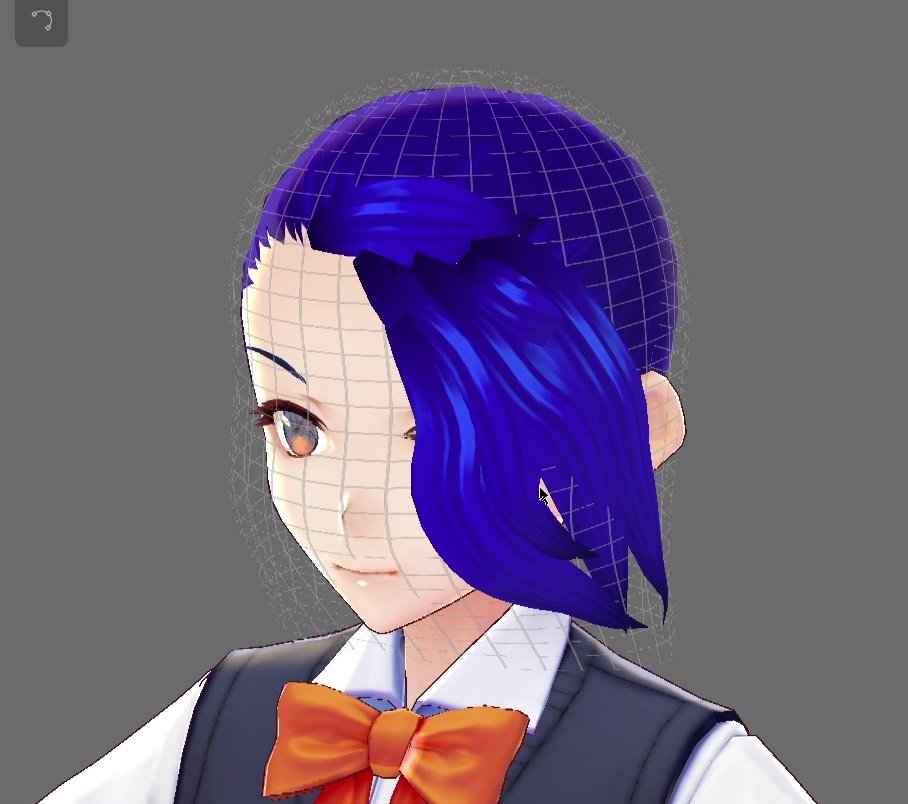
Then comes the really fun bit: in VRoid Studio you can actually draw hair directly on to your character’s head. See that “mesh” covering her head? Simply draw on that with a mouse or pen, just like using a paint program, and the hair will sit on it. It’s like painting in 3D; anyone who’s used any of the VR paint apps such as Tiltbrush will likely get a good feel for this quickly.
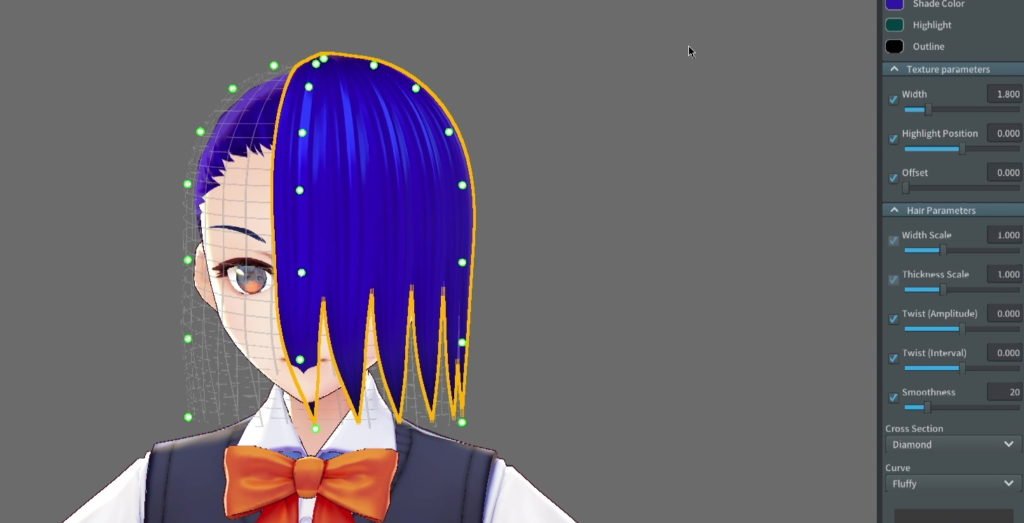
Drawing freehand hair can be a bit tricky, particularly if you want it to look neat, so an alternative option is to use the procedural hair option. Here you pick a number of factors such as how many distinct “strands” you want along with its thickness, curliness, position and overall shape, and let VRoid Studio do the hard work for you.
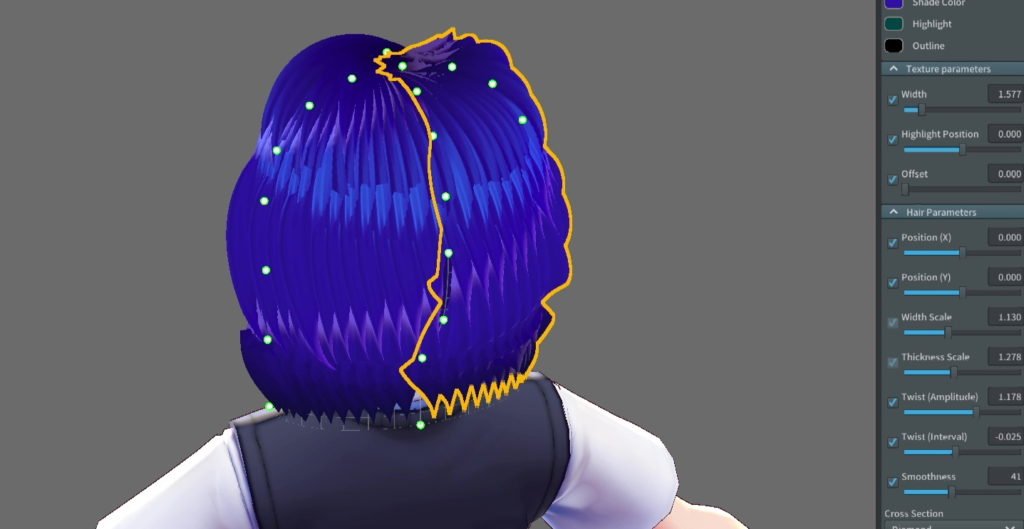
Using the procedural hairstyle tools in VRoid studio, you’ll work on up to half of the head at a time. You can then duplicate your work and flip it if you want a symmetrical hairstyle, or simply create new freehand or procedural layers for the hairstyle if you want something more elaborate.
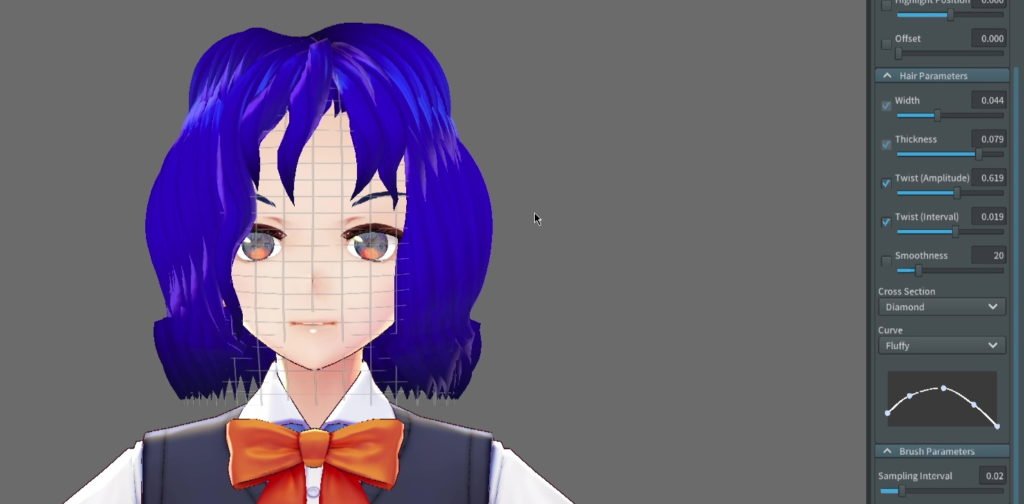
You can also use a procedural layer as a starting point, convert it to a freehand layer and then add your own finishing touches, such as the floppy fringe I’ve cack-handedly added here.
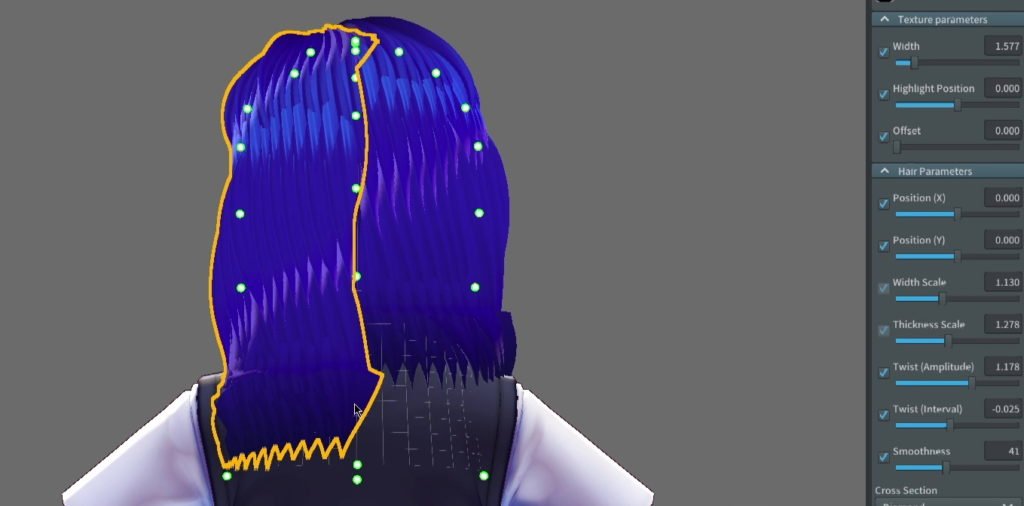
Finally, you can also customise the hair mesh’s shape by dragging the green handles around. Using these, you can adjust the length and overall shape of the finished hairstyle, allowing you a ton of flexibility in your VRoid Studio creations.
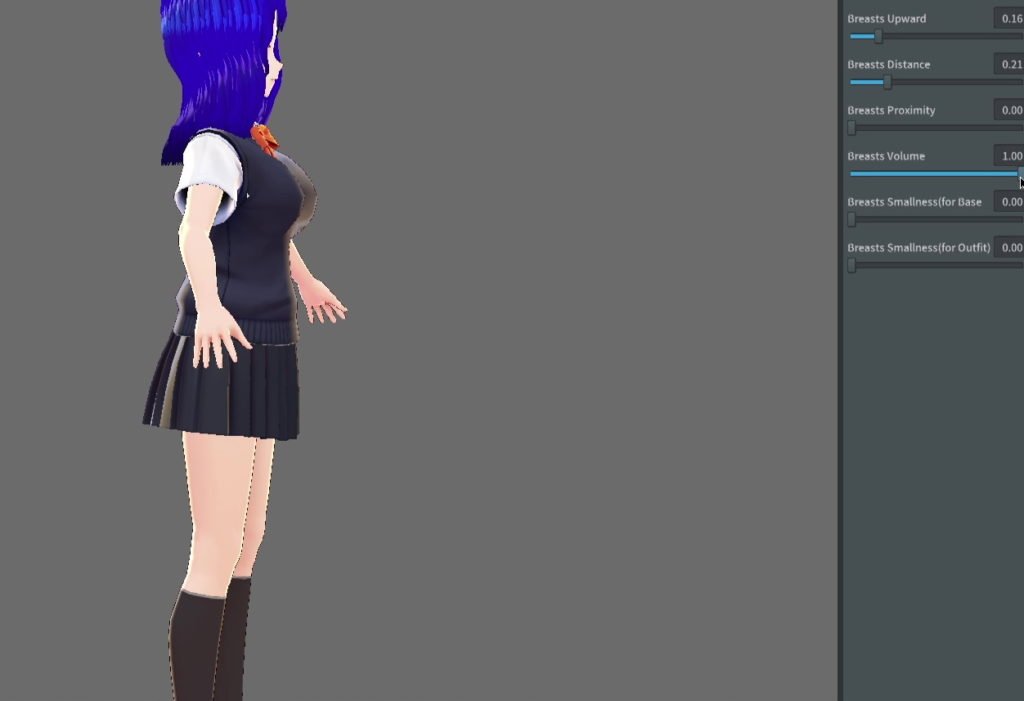
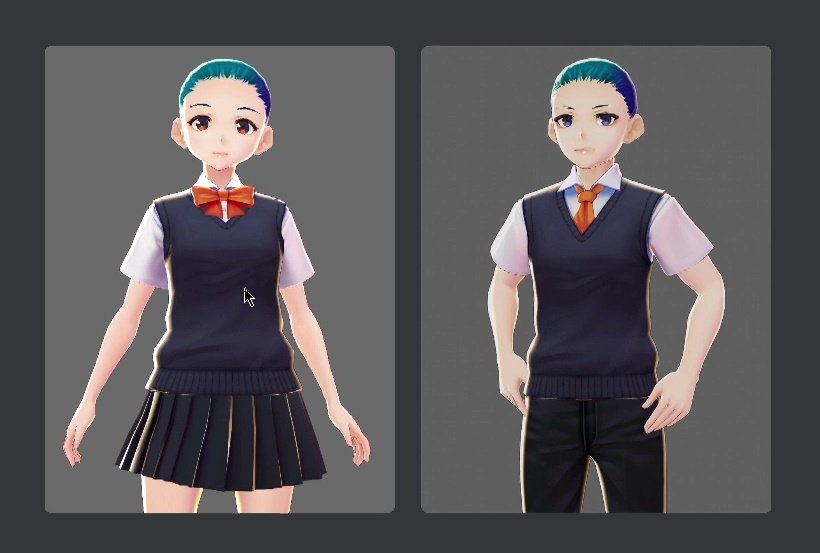
VRoid Studio’s body settings are just as flexible as the face options, allowing you to create short, skinny kids up to relatively curvaceous adults. There are limits, though; this is as big as the boobs go, for example.
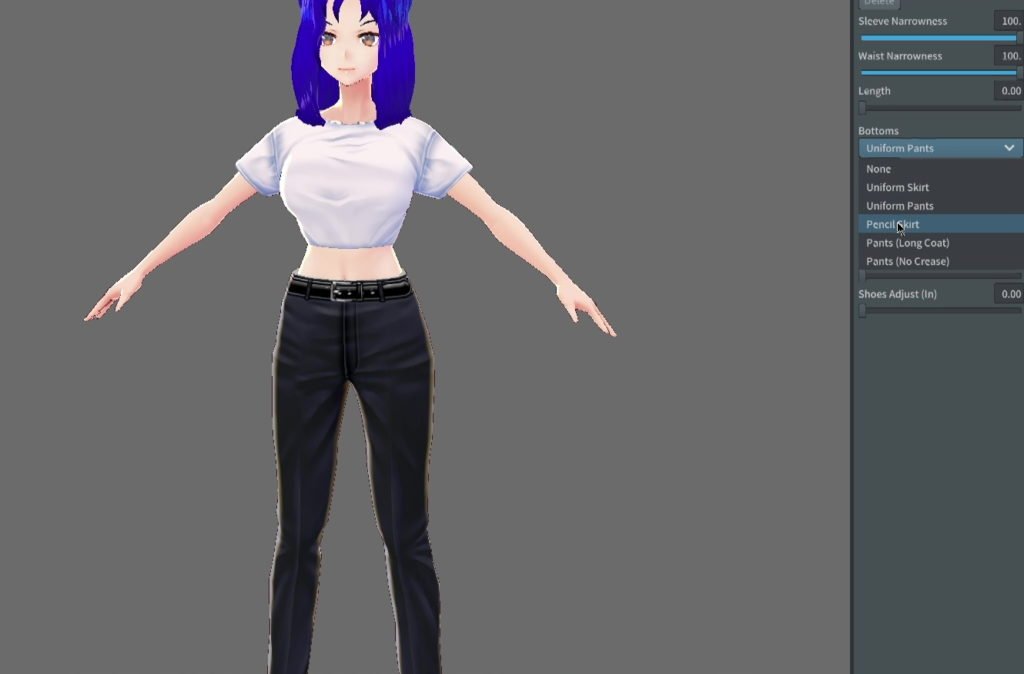
From here, you’ll probably want to customise your character’s clothes. There’s a small selection of different tops, bottoms and shoes included with VRoid Studio, but bear in mind all of these can be customised with your own colour choices and textures, just like everything else in the application, so there are a lot more options here than might initially appear. There are also some helpful settings such as the ability to adjust trouser length to prevent clipping issues with shoes.

As with the rest of the app, you can import images as layers to add your own textures, and guide templates are included to help you position them correctly. Here we’ve imported the Gal*Gun Returns logo to the front of the T-shirt. I should note that this is not, under any circumstances, to be considered official merchandise, particularly considering what I am about to do next.
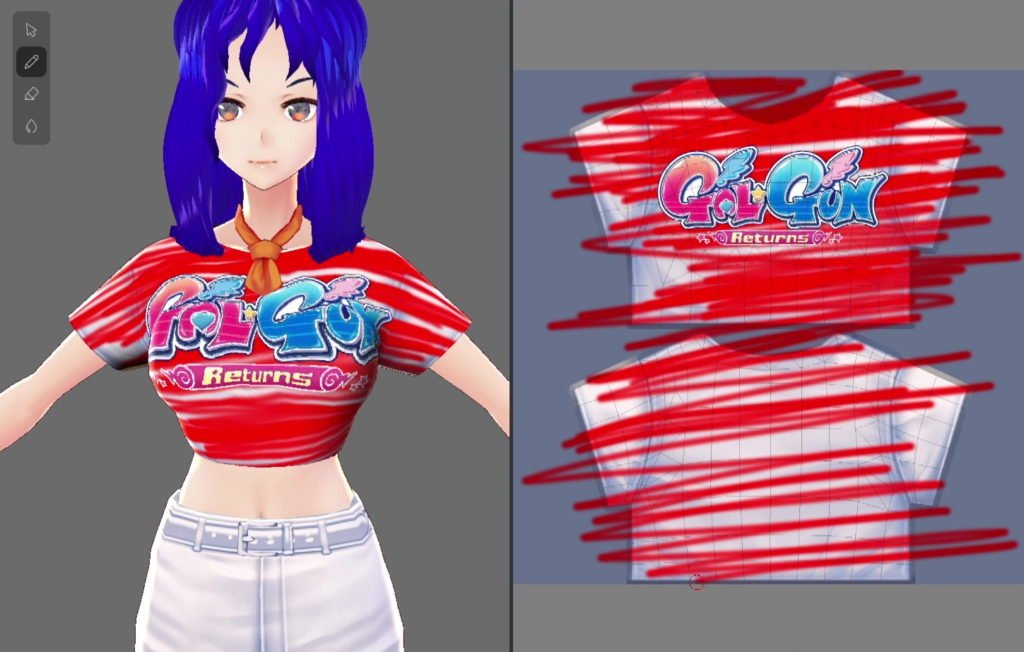
You can indeed just draw (or scribble, as I’ve done here) directly onto the texture or the model itself in order to add your own personal touches, or just make a colossal mess like I did here.
Once you’ve got everything looking the way you wanted, it’s time to snap a picture! You can import your own backgrounds or simply use a flat colour; the latter is useful if you want to “chroma key” out the background and use your creation as an image with a transparent background. Useful for those hoping to use this to, say, create visual novel sprites.
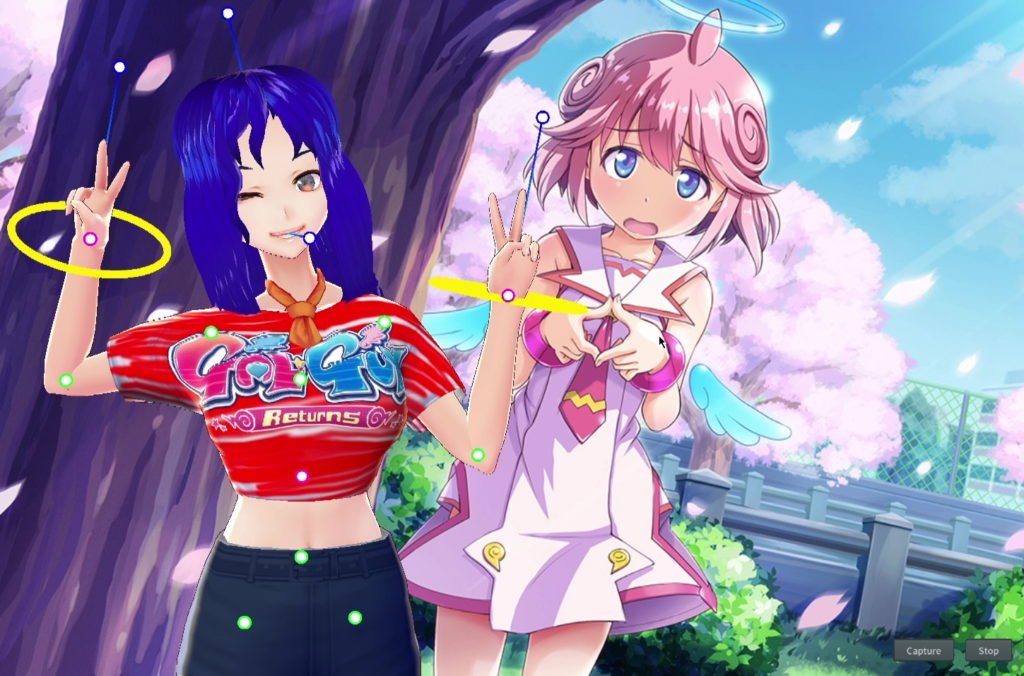
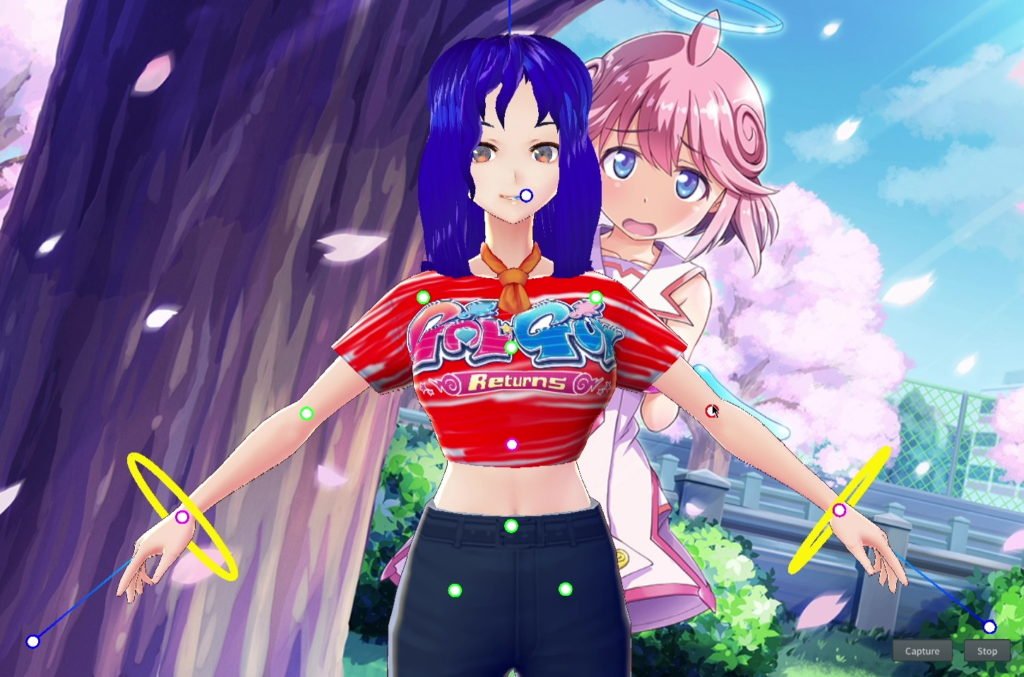
There are a selection of sample poses and animations included; alternatively, you can use the built-in pose editor to directly manipulate your character’s limbs and extremities to put them where you want them to be. There are several preset hand positions, and these can all be adjusted in “weight” to make them more or less enthusiastic-looking.
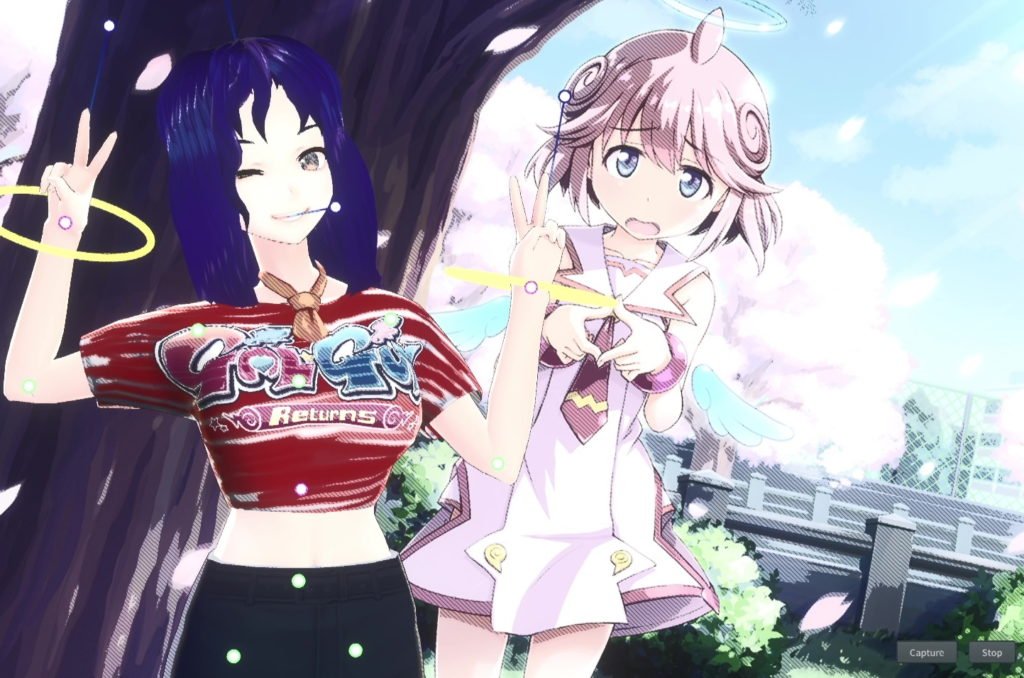
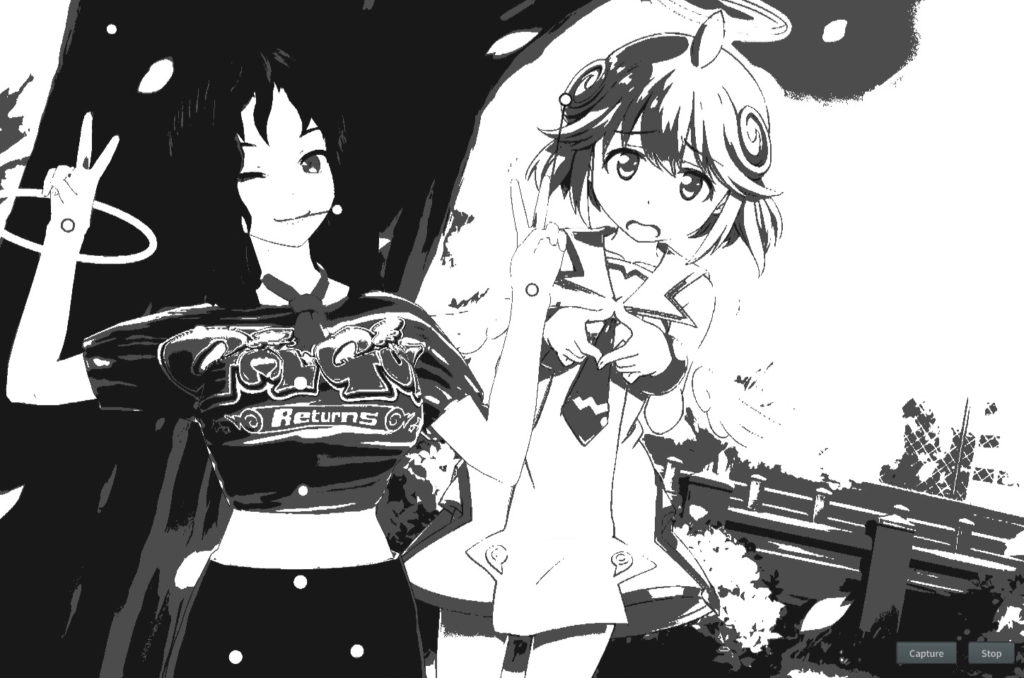
Once you’re happy with the overall composition of your scene, you can apply various post-processing effects to it to get it looking the way you want. The Comic filter is a particular highlight; there’s a wide variety of settings that allow you to get some very distinctive looks ranging from oil-painted graphic-novel style to high-contrast black-and-white manga. You may need to fiddle with the lighting a bit to get the latter looking good!
Once you’re happy with your scene, you can save it as an image — or you can export your model in .VRM format to load into other applications, including Blender, VRChat, Unity and a variety of others. From there, the sky really is the limit — this could even be the start of your new VTuber career.
VRoid Studio is available as a free download for Windows PC and Mac from Steam.
Join The Discussion
Rice Digital Discord
Rice Digital Twitter
Rice Digital Facebook
Or write us a letter for the Rice Digital Friday Letters Page by clicking here!
Disclosure: Some links in this article may be affiliate links, which means we may earn a small commission if you make a purchase after clicking on them. This is at no additional cost to you and helps support Rice Digital!


- Letter from the Editor: passing the torch - June 30, 2023
- Super Woden GP 2 is looking promising - June 30, 2023
- Inti Creates is making a 32 bit-style Love Live action platformer - June 26, 2023