Lost Sphear Guide Walkthrough – Chapter 2: Fishing at Hush Grove
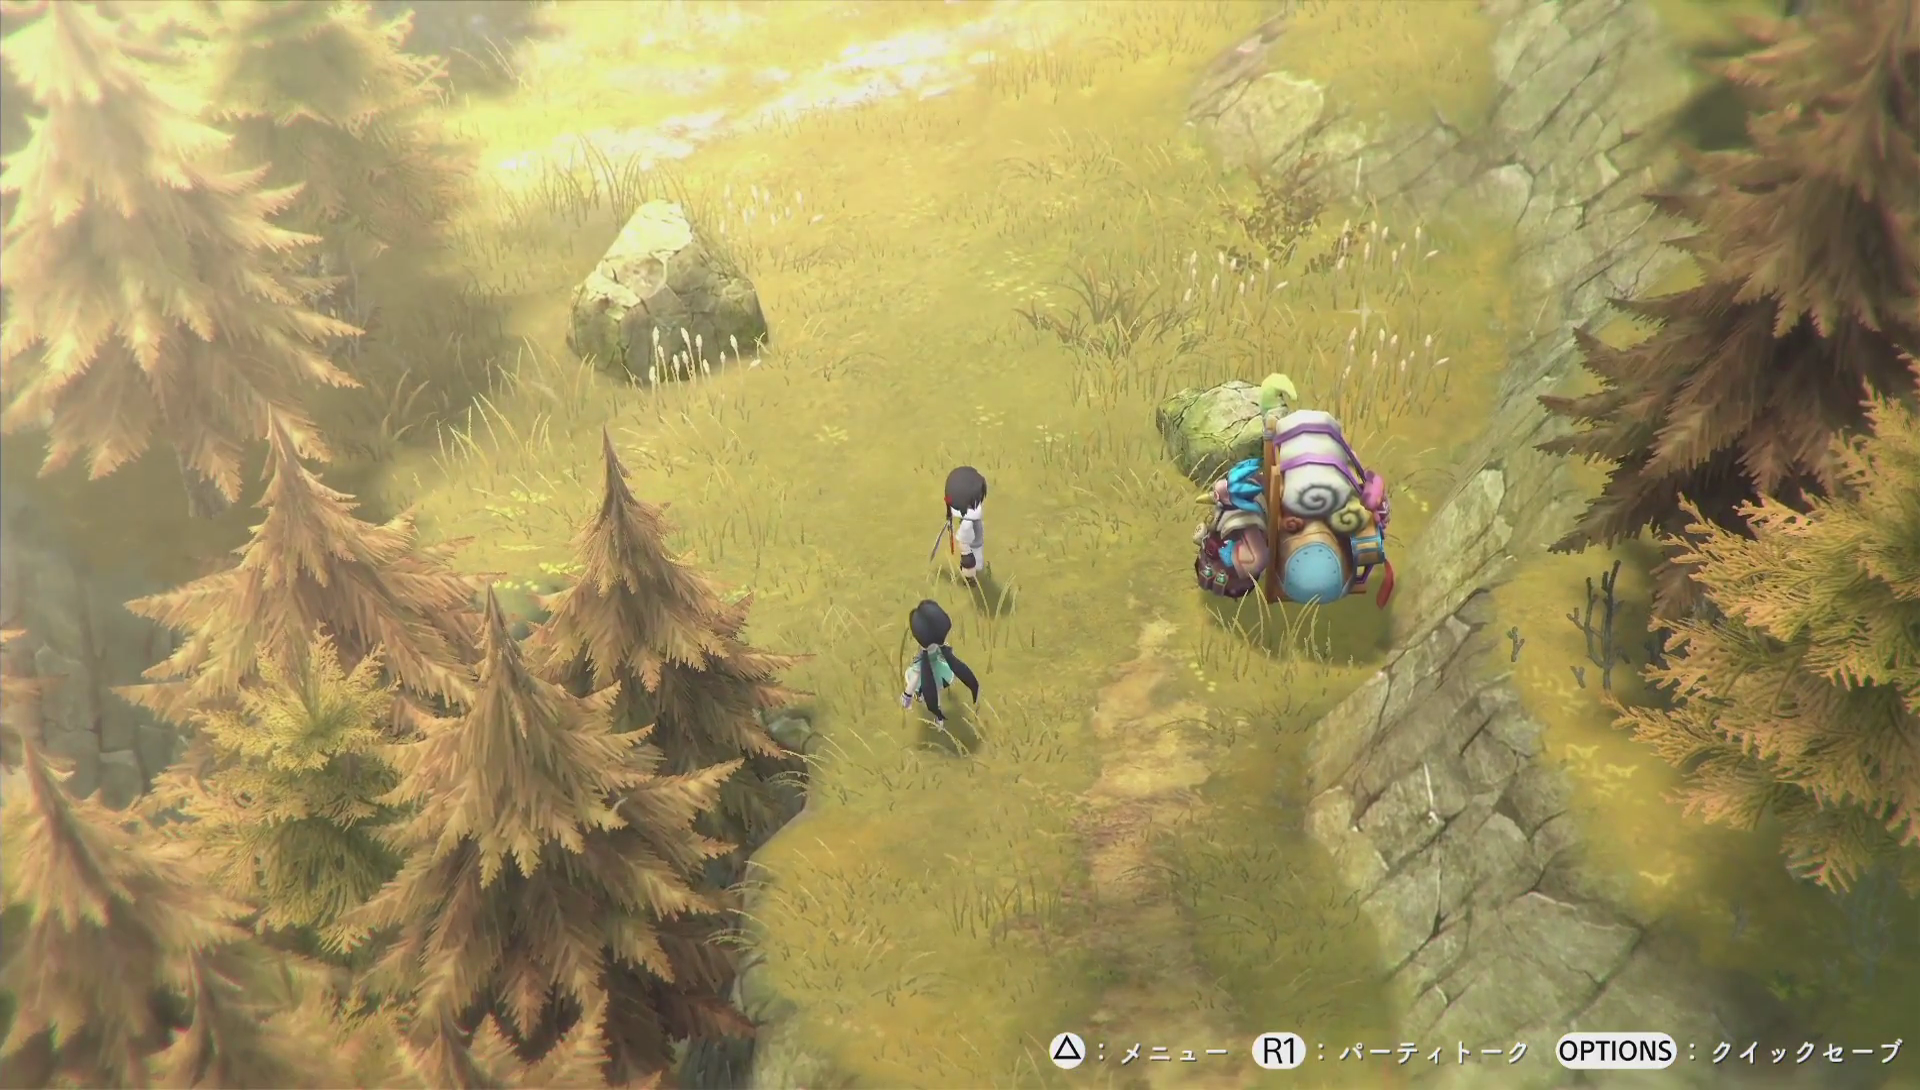
Hey look, it’s a world map. It’s nice looking, but nothing really happens on the world map besides moving from one point to another, picking up sparkles, and (later) creating some buff locations.

Previous Chapter | Lost Sphear Guide Index | Next Chapter
To re-iterate, sparkle items are random and re-appear as you move between locations. If you want, you can grab some Goldhead Carrots until you have enough for the Seek Ingredients quest at the inn to grab a Gaia Salad (increases exp, gold, and drop rates), which you can cook yourself too. Cooking isn’t really all that important in this game though.
You need to follow Locke to Hush Grove. You can’t go too far off track on the world map. You can hit up a couple of other locations, but there’s nothing to do there. It’s not really a game that rewards you for exploring before hitting flags.
Hush Grove is a big forest to the north-west of Elgarthe Town, and you can’t really miss it.
Inside Hush Grove you can head north-east for some pick-ups. West is the way you actually want to go, though, where you’ll find a Save Point (and it will explain saving). The game does also have a Quick-Save option too, so you should use that whenever you feel like there’s a boss coming or a hard fight just in case (heck, quick-save after every fight if you want).
Head north from them and you’ll meet with Balcie, who is basically the shop who you meet in dungeons and the like. Any non-main town location. He sells items, weapons, and armour, and can fortify equipment too (later).
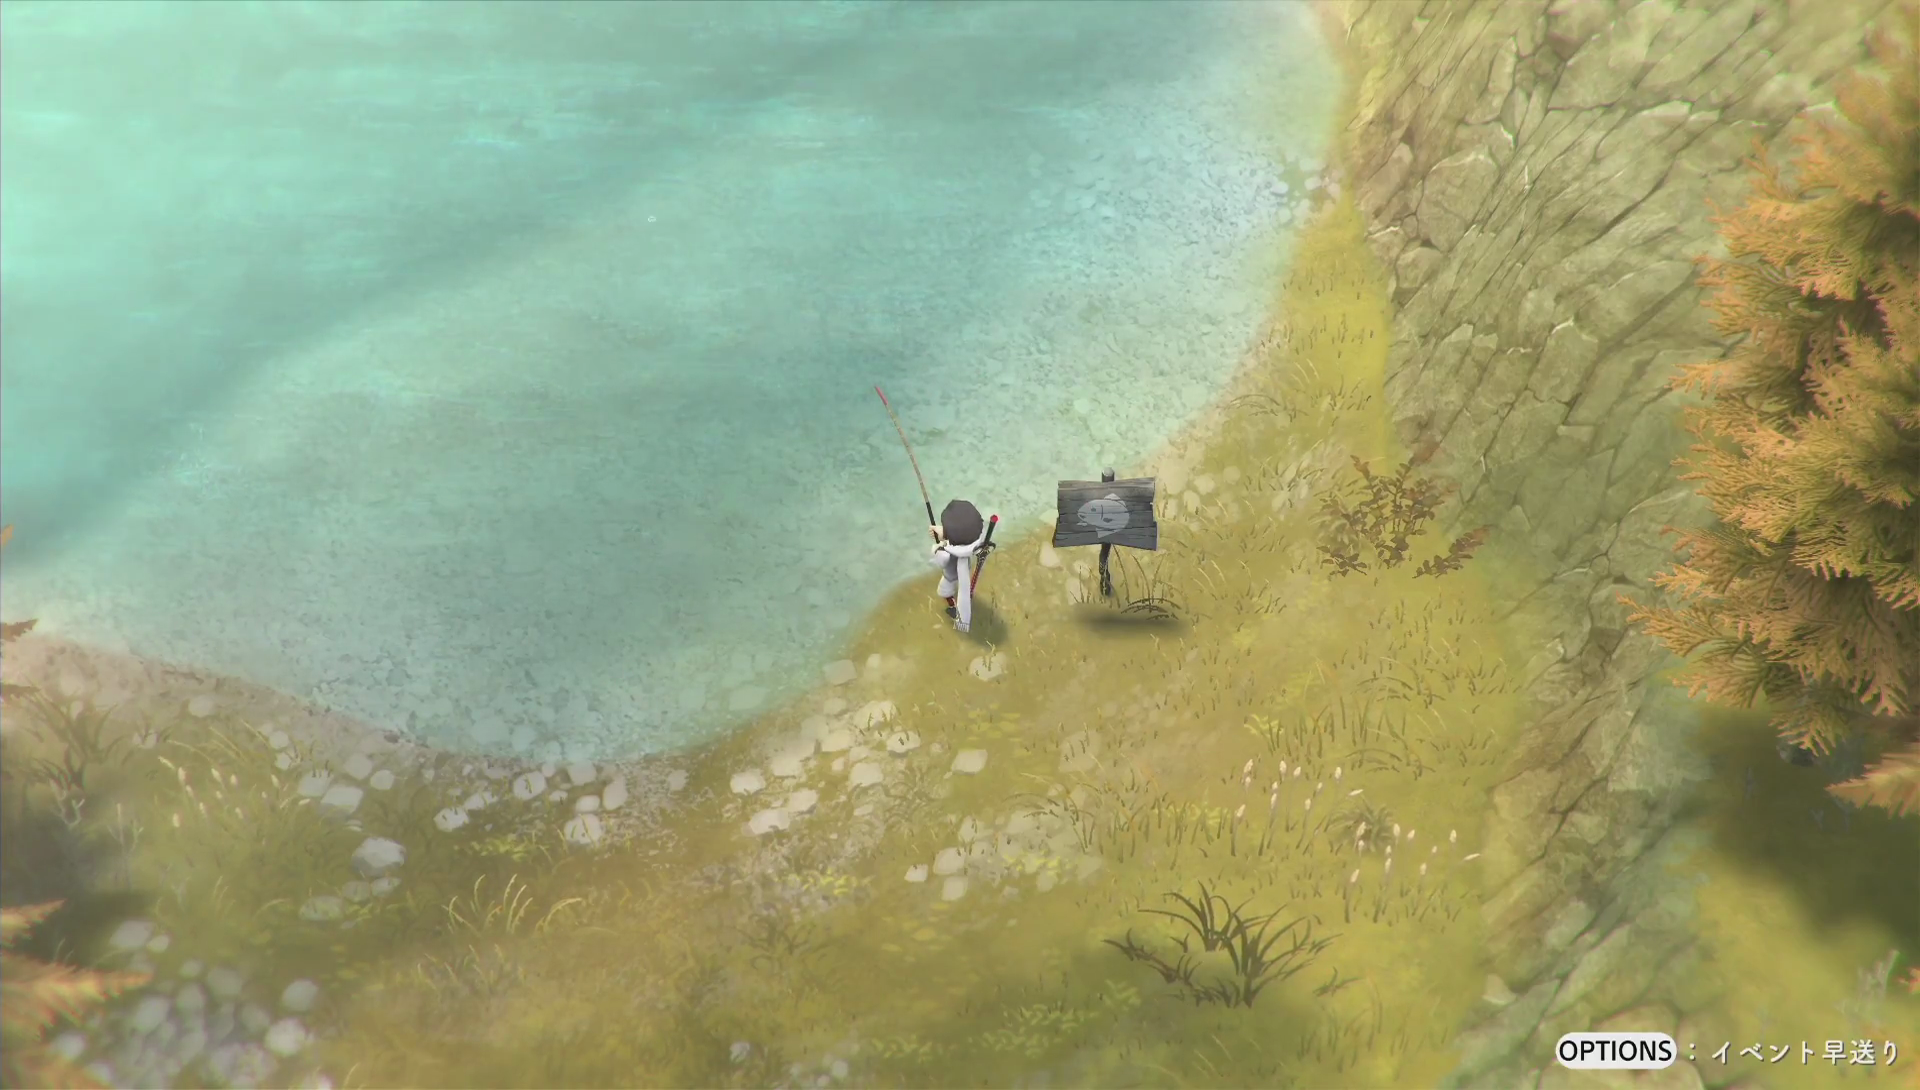
Not far from here you’ll encounter a fishing spot marked by a sign. Interacting with these signs in different areas will let you fish. It’s simple enough, you press a button to cast your line, and after a while once you’ve hooked something press it again to grab the fish.
After doing this a couple of times you’ll meet back up with Locke who’ll join your party yet again. What fun they have. You can find a sparkle item usually if you follow the lake along to the north a bit. But now you’ve got Locke and the fish, you just need to head back out of Hush Grove again.
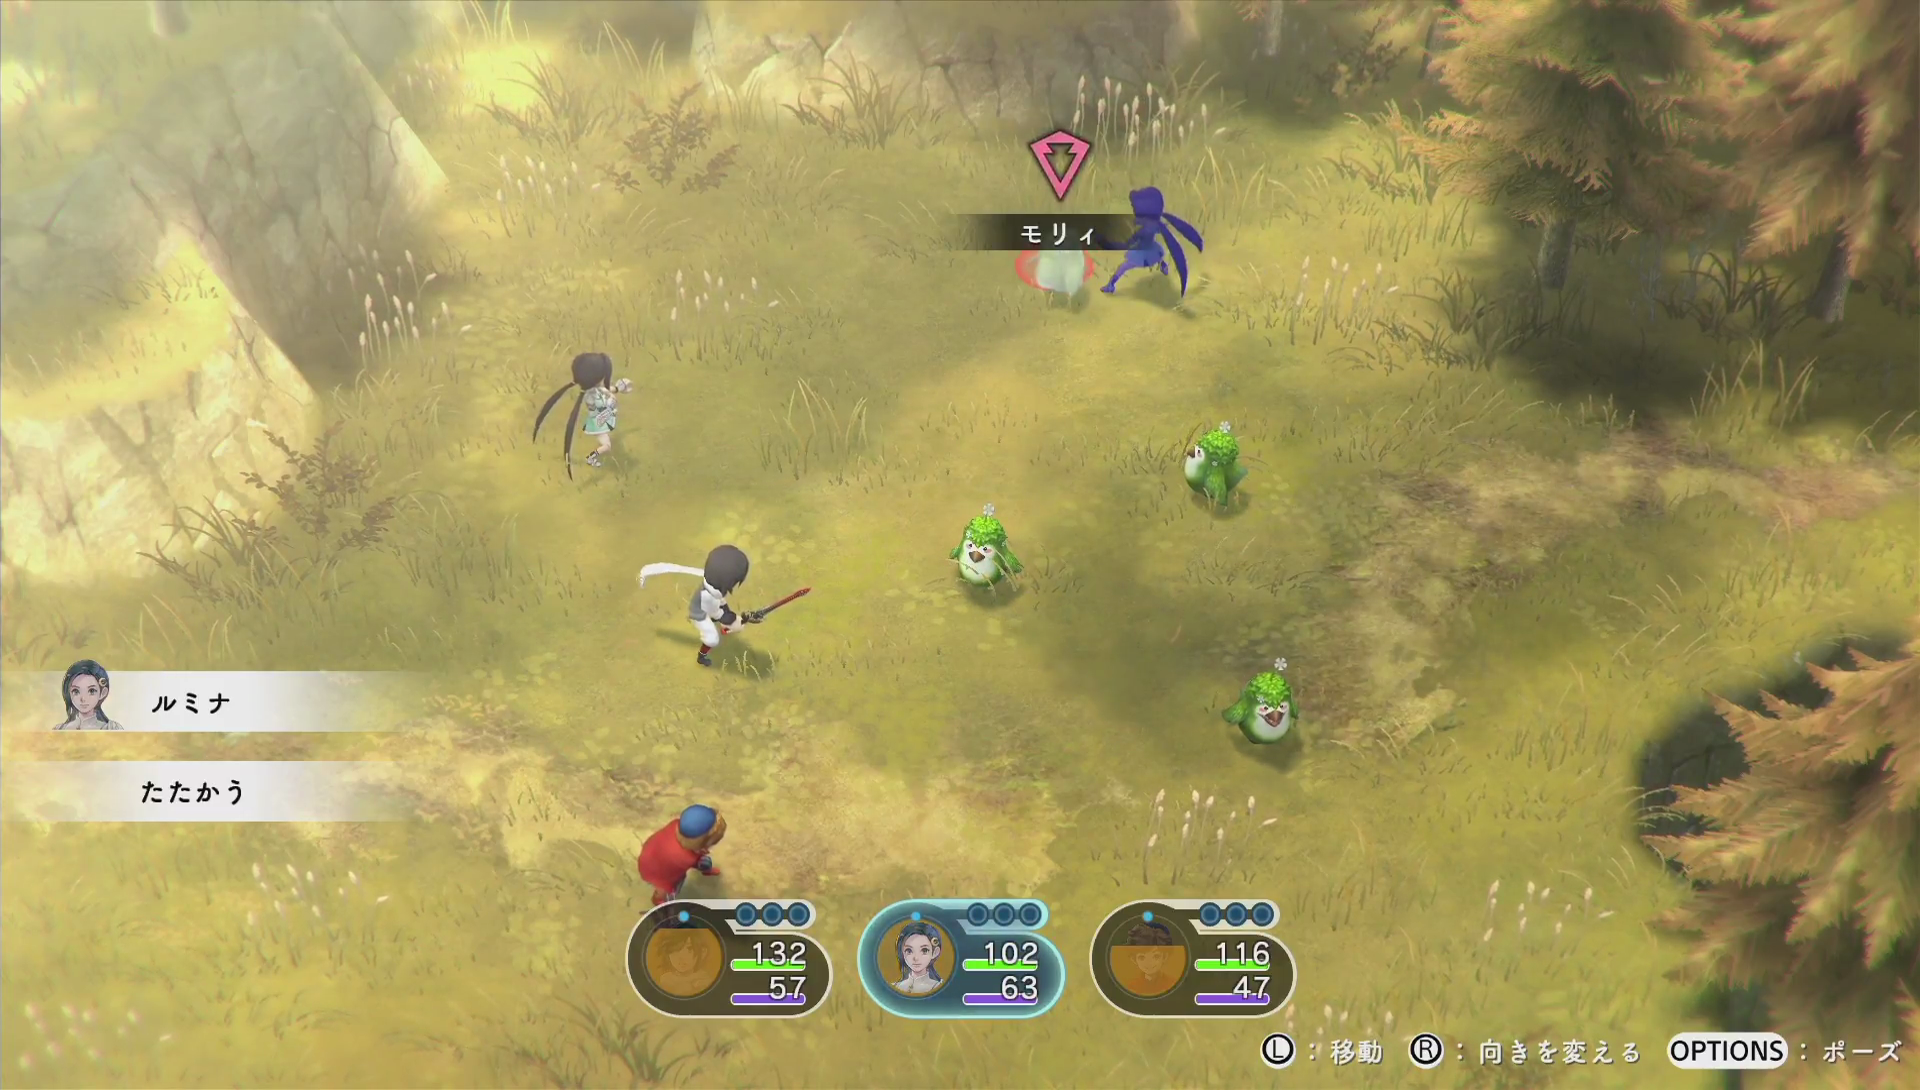
You’ll end up having your first real battle on the way back. It’s similar to I Am Setsuna’s battle system with how it works, the main difference being you can place your party members now. You need to wait for a character’s ATB bar to fill, then you can choose an attack.
Each party member has different areas of attacks for the main attacks and skills. If enemies are nearby one another, you can often hit them both with Kanata or Lumina. Characters like Locke who use ranged weapons are a little better, as they can hit enemies between them and their targets. The main idea is to optimise your targets.

There’s also a Momentum Charge metre. This fills up if you leave a character past their max ATB, but also gets increased with damage, and taking damage, and that sort of thing. You can hit X/Square before some moves to use it to boost the move you’re using, hitting your target twice for regular moves. Encountering enemies with them unawares starts you with one momentum bar each (of 3), helping you clear enemies quick.
Anyway, the fight is very easy and just introduces you to the system. The basics remain the same throughout. As you leave Hush Grove you’ll hear the bell from Elgarthe, and you know what that means!

Hurry back there and you’ll find something is wrong with the town, and the surrounding world map. It’s… gone!? The moon watches silently over the scene. You’ll meet a new character as you head forward into story scenes. But he leaves. The party decide to head to somewhere called “Moon Ridge” in the hope of finding more people from the town.
Moon Ridge is to the south of the town, and looks like a little hut. That’s where we’re going next.
Previous Chapter | Lost Sphear Guide Index | Next Chapter