Class of Heroes: Anniversary Edition Beginner’s Guide
Class of Heroes: Anniversary Edition is here, bringing the portable dungeon crawler to modern platforms. If this is your first time with the series, don’t let the cute art fool you — Class of Heroes’s opening hours are very punishing, as you try to get even your first level up.

But don’t worry, that’s where our Class of Heroes: Anniversary Edition Beginner’s Guide comes into play. We’ll go over some of the ways you can make your starting journey in the game a little easier, including the best ways to make your party and farm gear.
Party Composition is Key
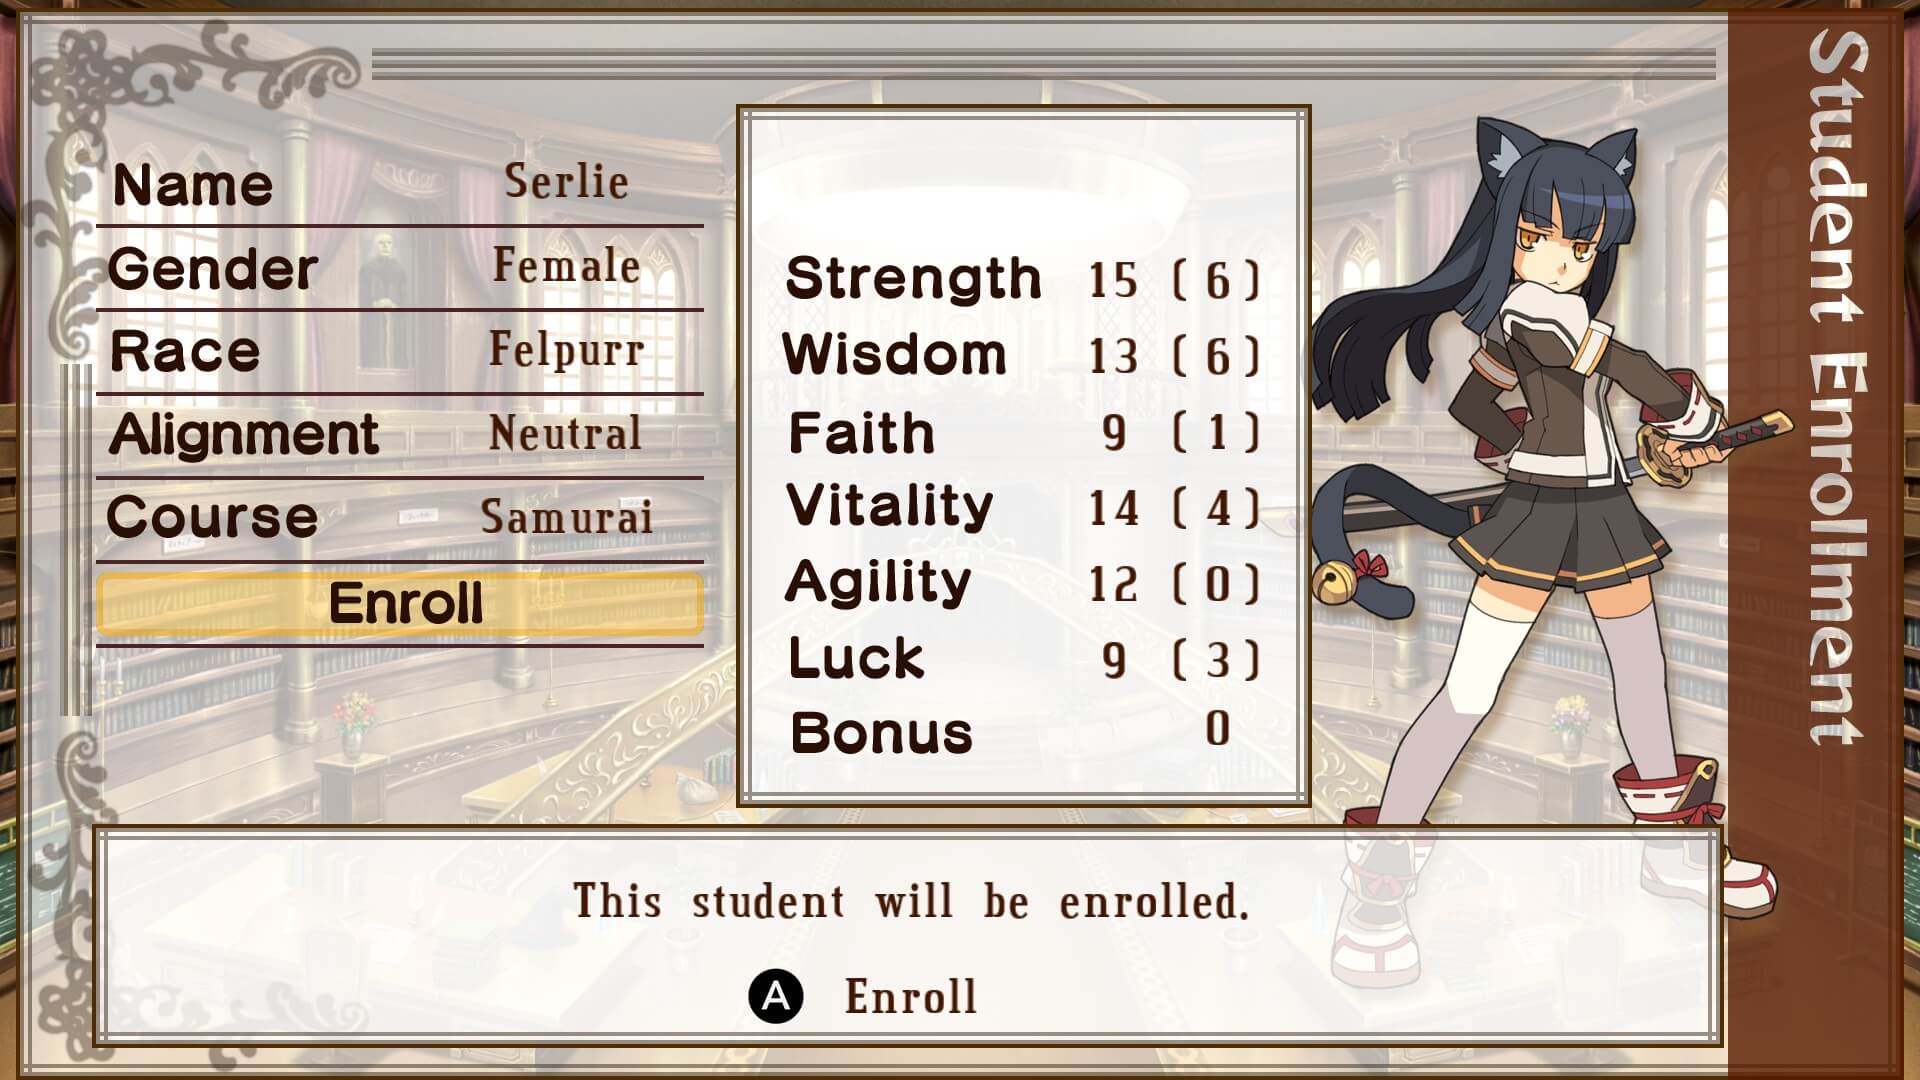
Right out the gate, you’ll need to create the group of six characters you’ll be using to take on Class of Heroes’s various dungeons. You have 15 courses (classes) and 10 races to choose from, giving you a lot of variety on how you build each character. Alignment isn’t too important, though some courses require a specific one like Bishop.
The basic idea is to have 3 melee characters in the frontline, with 3 ranged in the back — backline characters get targeted by enemies less, and enemies with short range attacks can’t even reach them. You can use multiple of the same course, or try out a wide range across your entire party.
One thing to keep in mind is that you can only pick courses that your character has the stats for. While each race has different starting stats, the main decider is the bonus stat number when selecting courses.
Bonus stat points can be applied to any other stat, up to a maximum of 10 per stat. Each time you roll a new character, the amount of bonus stats will be rerolled. This can be as little as single digits, up to 30 or beyond. Canceling out of the enroll screen then going back in will let you roll for bonus stats quickly.
Due to how level ups work in Class of Heroes, you don’t have to worry too much about getting high bonus stat points (the amount of stats gained mostly evens out regardless), so just get enough for the course you want and move on.
- Any leftover stats can be applied in a few ways based on the course type:
- Melee – For courses like Warrior, go Strength and Vitality, with spare stats going to Agility. Nimble melee classes like Thief do best with Agility, with the rest going to Luck and Vitality.
- Casters – Wisdom and Faith, with spare stats going into Agility.
- Ranged – Try to spend 10 bonus points on Agility, with any extra going into Luck and Vitality.
As for must have courses, Thieves are invaluable for disarming chests and picking locks. You’ll also want to have a Priest in your party for healing — Bishops can heal as well, but Priests gain access to MP regeneration at level 7. Speaking of Bishops…
Always Create a Bishop
Even if you don’t plan on adding one into your party, you should create a Bishop anyway. This is due to the course’s ability to identify items. Most items you find are unidentified, and basically useless before being revealed.
If the Bishop is not in your main party, you can always swap them in quickly to identify items, then remove them afterwards. And if you happen to get any coin items, these can be sold for decent money once identified.
Buy a Map (Or Use Wizardry)
By default, you won’t have access to dungeon maps. This is important since, while areas are not procedurally generated in Class of Heroes, there are a number of floor layouts for each area that get picked from at random.
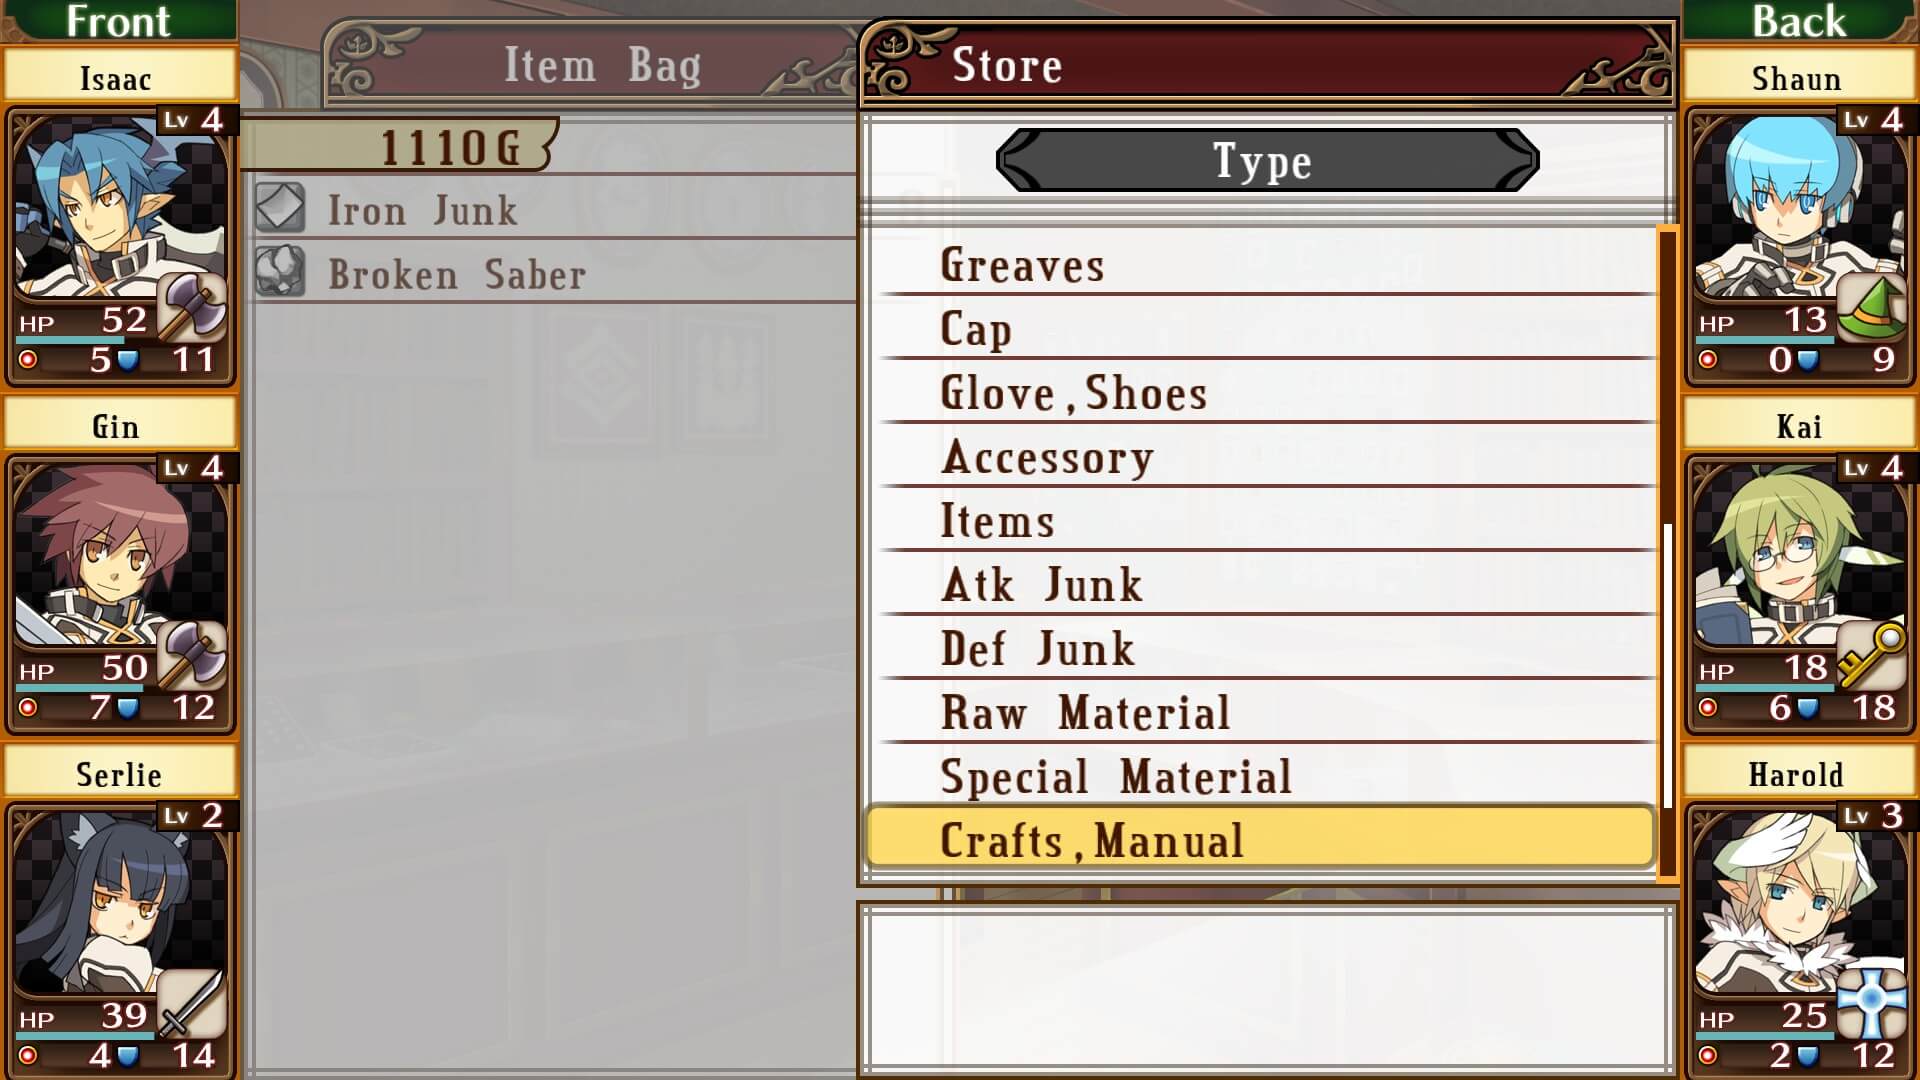
Maps can be bought from the Campus Store under the “Items” category, starting at only 5G for the Novice Map (the area you’ll be grinding in to start off). 10 maps can be combined using alchemy (more on this later) to create a “+” version. Regular maps can sometimes be destroyed when picking up items in a dungeon, which does not happen to the + variant.
Courses such as Mage also get access to the Tier 1 Wizardry spell Mapor, though this will be disabled if you enter any dungeon tiles with an anti-magic effect.
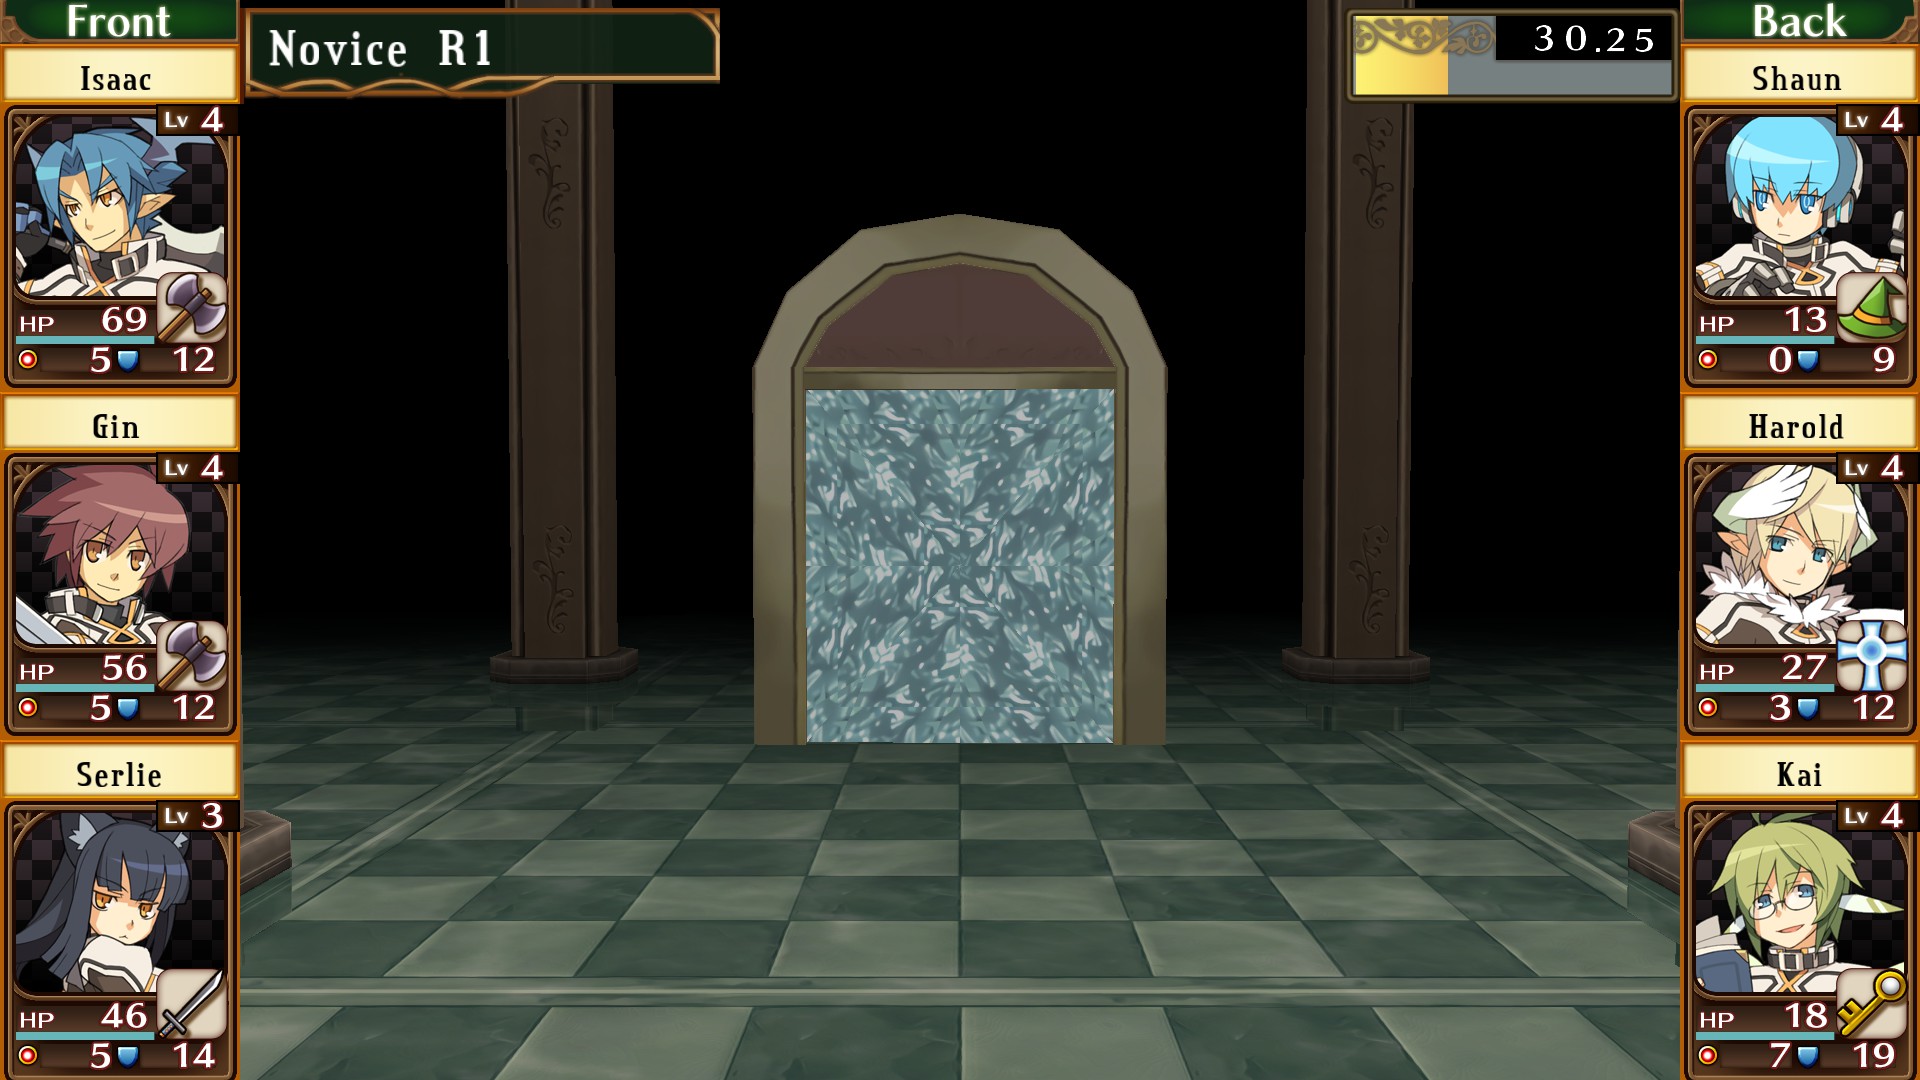
Stick Near Dungeon Exits Early On
With that out of the way, you’ll find that your first trip into the Novice dungeon is a little rough. You start off with very weak gear, and enemies that you manage to kill don’t drop much money.
The goal starting out is to gain a level or two to boost your characters stats and help them survive. Your best way to avoid a party wipe is to play it safe and stay near the dungeon entrance, since you can take on a couple of encounters, leave to rest up, then head back in.
It’s also possible to save in the middle of a dungeon too — just make sure to choose the “Resume” option from the Labyrinth menu when loading a save where your main party is in the middle of a dungeon to get back.
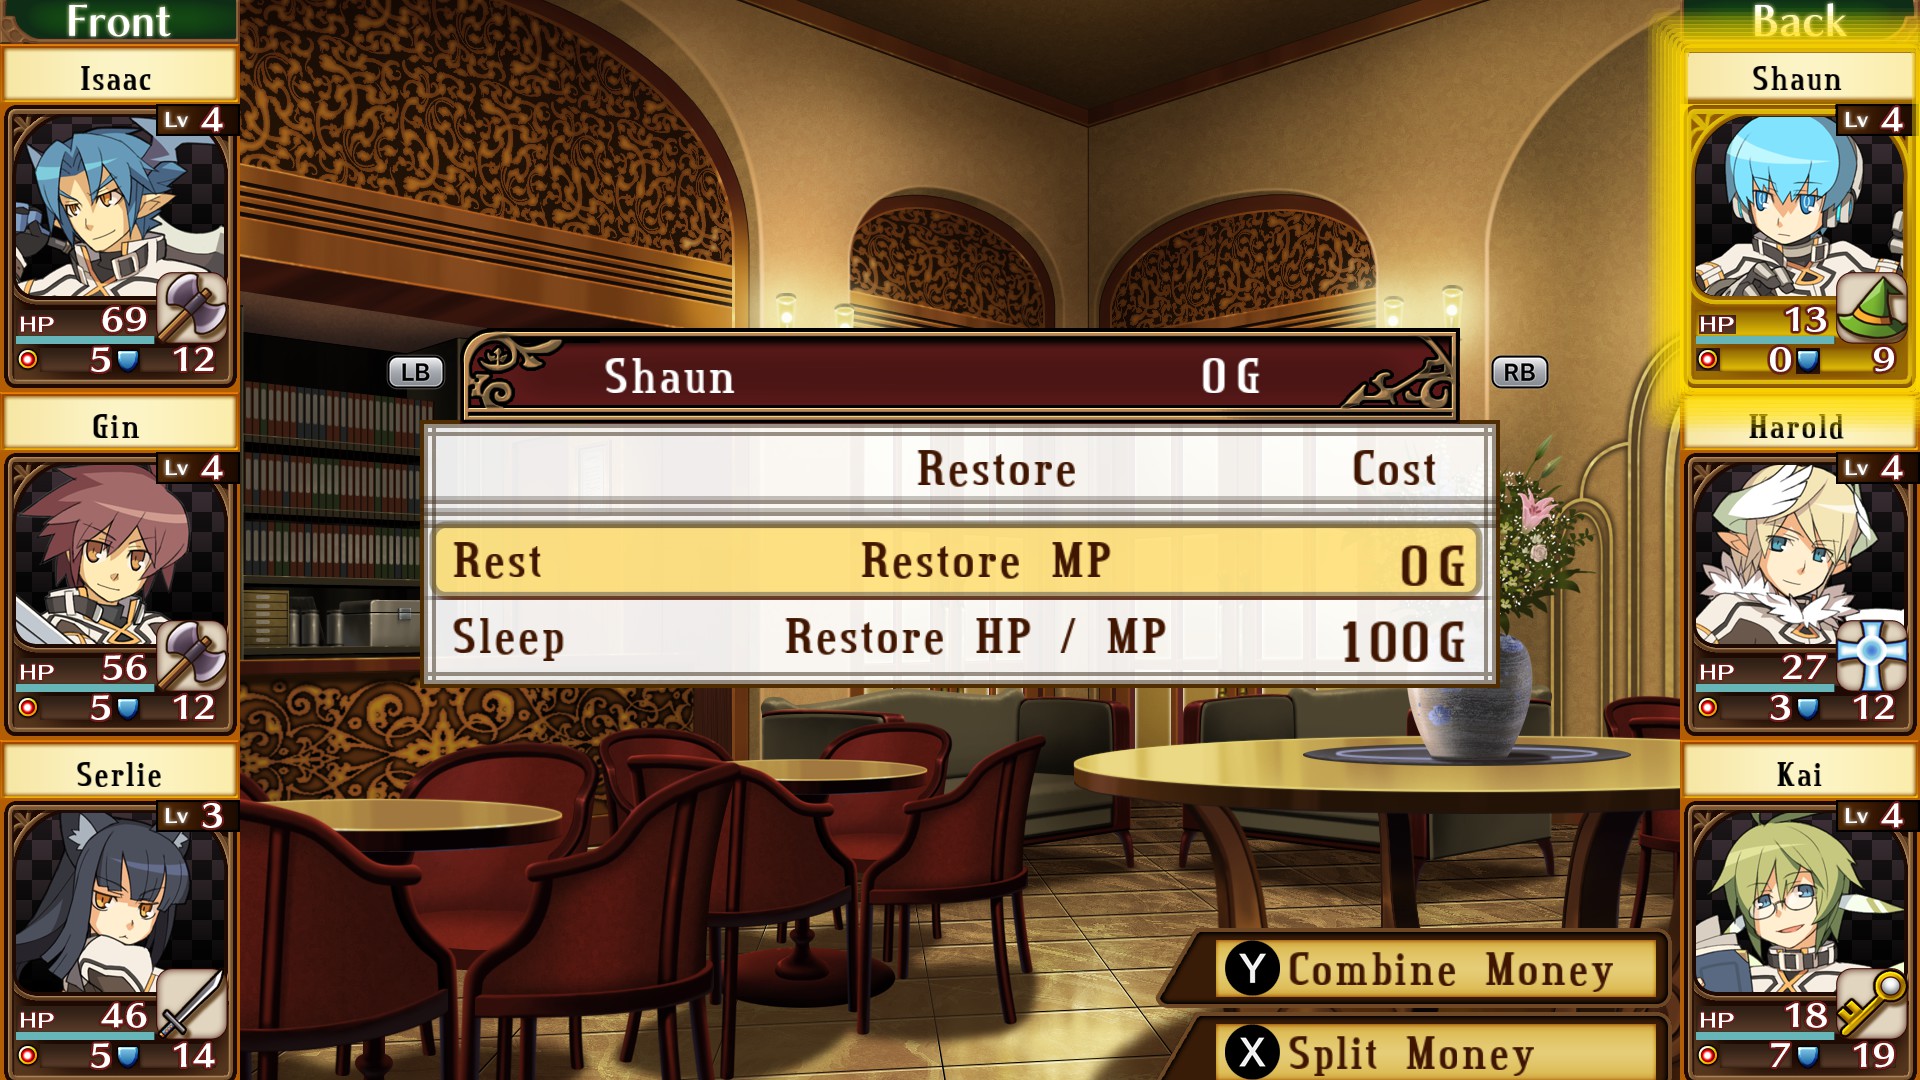
Restoring MP is Free in the Dormitory
Since you’ll be light on money, the 100G fee in the dormitory for restoring HP is a hard pill to swallow. Thankfully, you wont need to make use of this option early on. If you have a course that can heal, use up all their magic charges, then choose the first rest option that is free. This lets you restore the character’s MP, and your party is still healed up too.
Make use of this often early on — it’s especially useful for offensive magic users, as magic is far more powerful than melee attacks with the default starting gear.
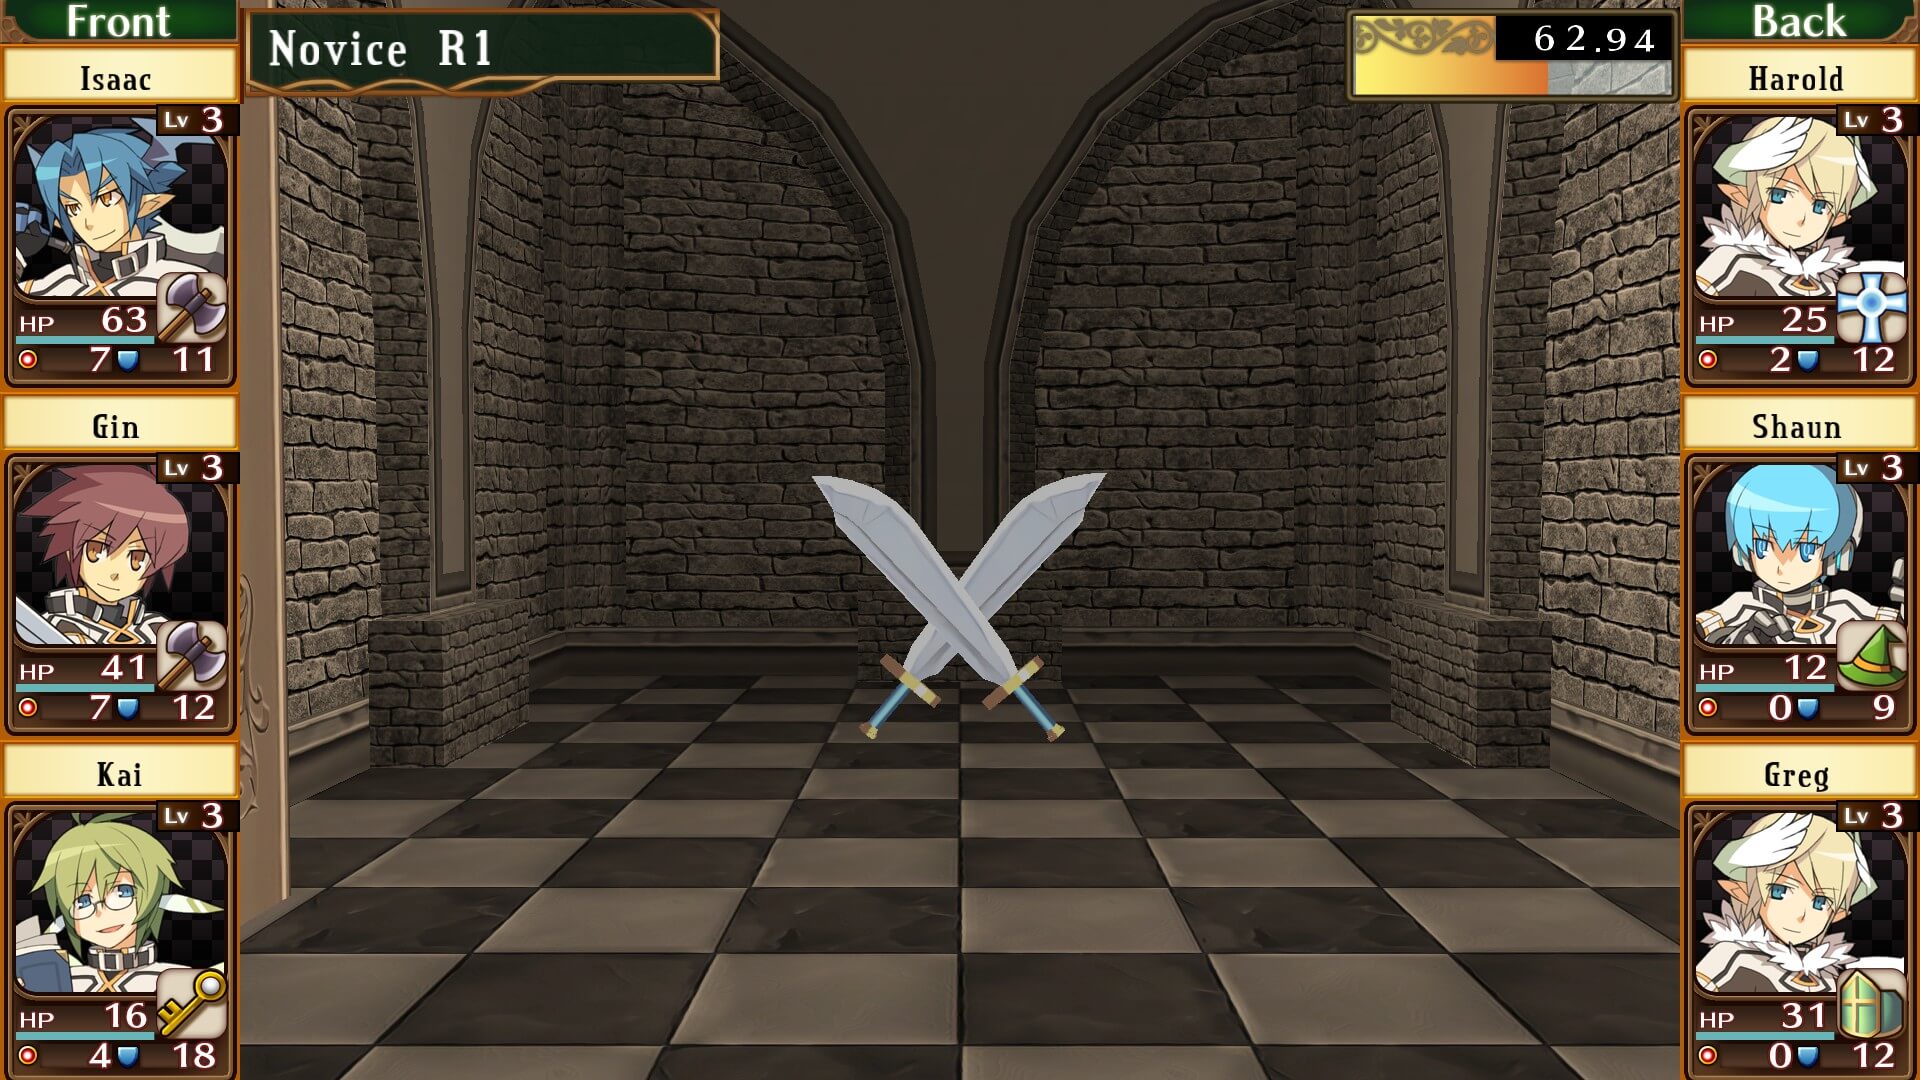
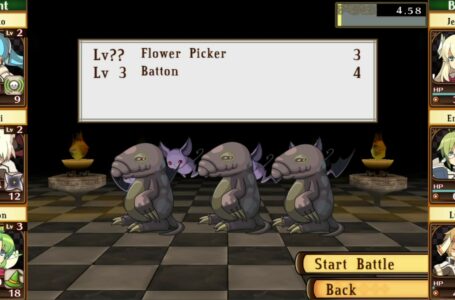
Make Use of Sword Encounters on the Map
Once you’ve gained a level or two, you’ll want to move onto finding encounter tiles on the map. These have a pair of crossed swords, and are in set locations in each map. Defeating the enemies in these will usually drop more materials, along with a chest.
Use your Thief to check which trap the chest has, then disarm it (this can occasionally fail, but early traps aren’t too dangerous). These chests are going to be your main source of new equipment early on.
Sword encounters can be farmed quickly using a simple method: press the interact button (e.g. Z on keyboard, A on Xbox), then choose the standby option. This lets you return to town without the party. Then, go to Labyrinth and resume. The encounter will reset, giving you the change to gain more items.
Some pieces of equipment will be dropped directly, while others must be crafted using damaged versions of the gear and materials. This is where alchemy comes in.

Rely on Alchemy Over Buying Items Directly
As mentioned earlier, you likely won’t have much money for the starting hours of the game. Gear in the Campus Store is also quite expensive, draining your already meager funds.
However, instead of buying gear, you can just craft it instead. Under “Crafts, Manual” in the Campus Store, you can buy crafting recipes for far cheaper than the actual cost of gear.
From there, you can combine materials in the Laboratory to make new gear that will improve your chances of success. For example, you could take the Iron Fist item and 3 Iron Junk, and make a Knuckles weapon that can be dual wielded.
Note that alchemy still has a (small) cost. This can be removed by using a character that’s an Alchemist, though unlike identifying you must have a high enough Alchemist to craft later items.
And those are some tips to help smooth out the early game difficulty curve in Class of Heroes: Anniversary Edition. Follow these, complete requests from the Library, and you’ll be good to go — don’t worry, things get a little easier from there!
For anyone interested in checking out the Class of Heroes series, Class of Heroes: Anniversary Edition and Class of Heroes 2G: Remaster Edition are available via Steam from April 26, 2024.
Both games are also launching digitally and physically for Nintendo Switch and PS5 as part of Class of Heroes 1 & 2 Complete Edition.
Join The Discussion
Rice Digital Discord
Rice Digital Twitter
Rice Digital Facebook
Or write us a letter for the Rice Digital Friday Letters Page by clicking here!
Disclosure: Some links in this article may be affiliate links, which means we may earn a small commission if you make a purchase after clicking on them. This is at no additional cost to you and helps support Rice Digital!