Monster Hunter Rise guide: Tips and tricks for new players
This piece is for the newer players out there who have recently gotten into the ever-addictive world of Monster Hunter with its latest installment, Monster Hunter Rise.

Throughout this piece, I will go through some of the tips and tricks that you absolutely need to be making use of. They’ll make things more convenient for you and generally make the game even more fun.
For a game in which the player only controls a single character with the single objective of “kill monsters”, there is actually a fair amount of thinking and micro-managing in Monster Hunter Rise. And this can then get even deeper depending on the weapon you’re using as well: Insect Glaive users have to manage their insect extracts, Dual Blades users constantly manage stamina, and Long Sword users have to learn monster attacks to make use of their counter and parry abilities.
So with all that said, let’s dive into some of the need-to-know tips that will help newer players — and maybe even some veterans — enjoy the thrill of the hunt that much more!
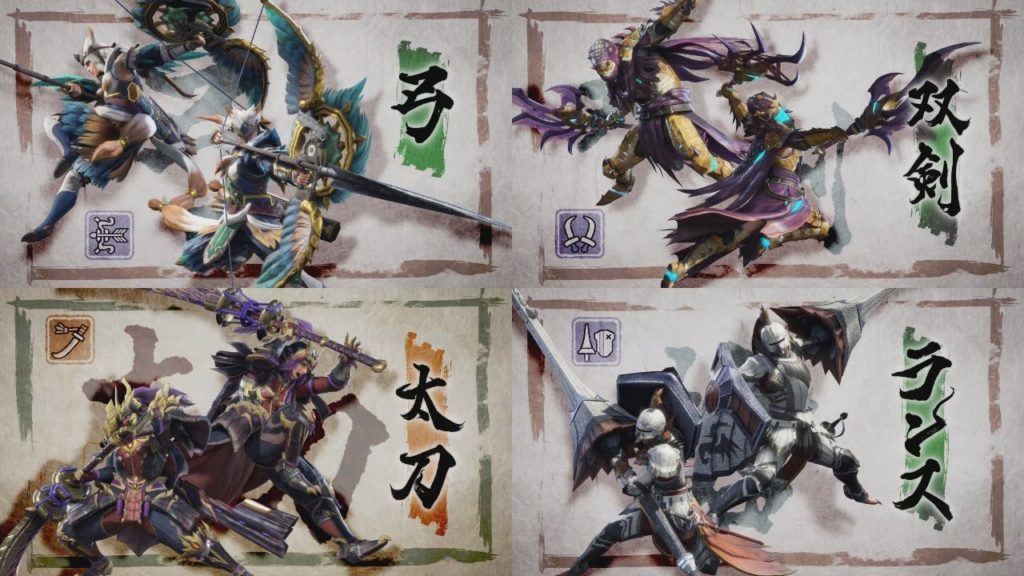
Understanding the flow of your weapon
Don’t get scared now; I’m not saying that you need to know every single combo for each and every possible situation, but you do need to get a clear understanding of how your weapon flows. Every weapon in Monster Hunter Rise is extremely useful, and no one weapon can be considered “bad”, but each of them plays very differently and specialises in a different area.
I’ve been playing Long Sword for Monster Hunter Rise, so I will use it as an example. The Long Sword’s entire game plan involves using basic attacks to build your spirit bar, then using spirit attacks to power up the sword to the next level, and then rinsing and repeating until spirit level is maxed out. At this point you can finally use your heavy-hitting attacks.
It’s a good idea to jump into Monster Hunter Rise’s training area and check when your weapon allows you to cancel an attack into an evasive roll. Certain attacks, such as the Dual Blades’ Demon Flurry, force you to continue attacking until the animation ends. This can leave you open to getting hurt, so it’s good to know which attacks require more commitment in order to best gauge when to use them.
Veterans will note that I haven’t talked about using counters, silk bind attacks or unique attacks, and that’s because you don’t need to know those right away to jump into Monster Hunter Rise, have fun, and begin to learn even more. The extra depth of the weapons will come as you continue to play and become more and more familiar with your weapon of choice.
Take your time to gather your power
When you start a hunt, take some time to venture around the map. There are numerous aspects to Monster Hunter Rise other than just killing the main monsters: collecting materials, buffing yourself up with the endemic life, finding new campsites to fast travel to, and even just uncovering the whole map.
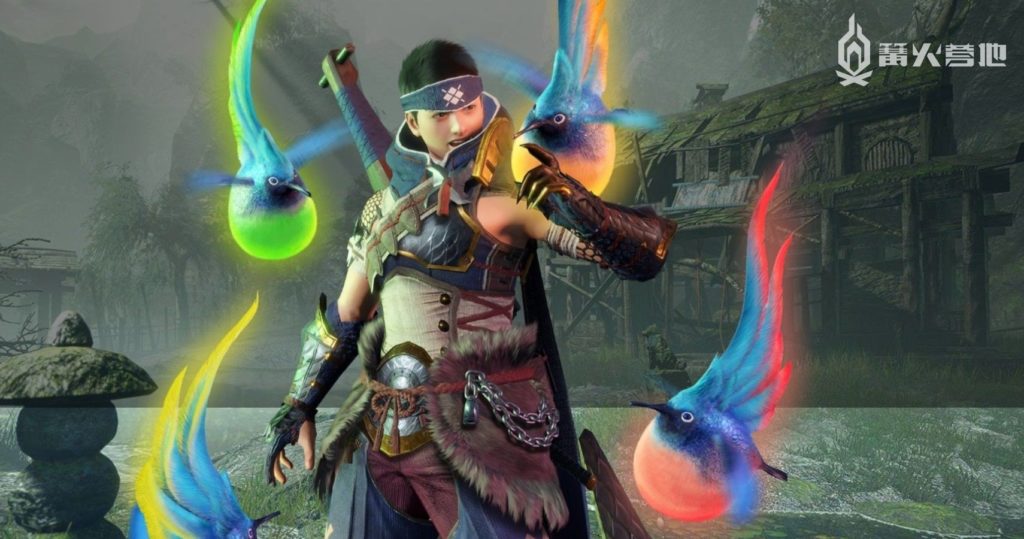
In addition to this, Monster Hunter Rise introduces the Pentalaces. These are additional armour pieces that collect the pollen from Spiribirds located around the maps throughout Monster Hunter. Each Spiribird offers a different type of semi-permanent buff for the player for the duration of the hunt. The Spiribirds offer a variety of useful buffs, including increased vitality from healing items, improved defence, and increased attack damage — so take your time, prepare, and grab those buffs.
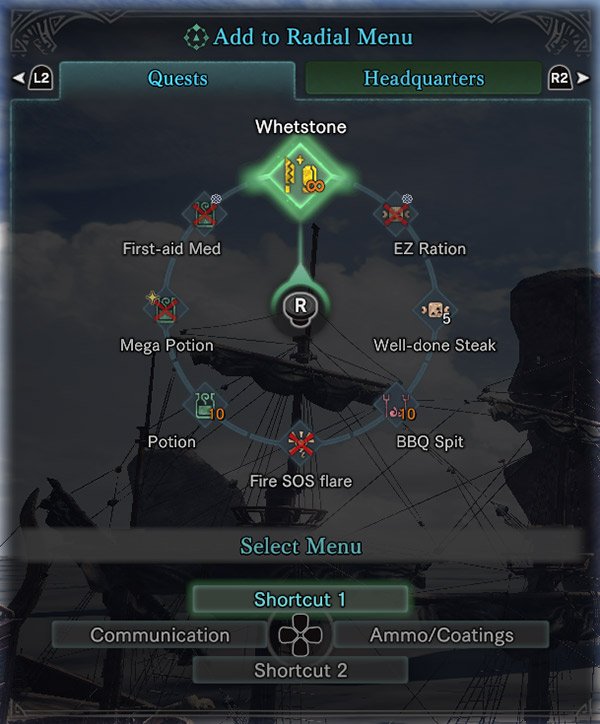
Set up your item shortcuts!
Press the + button to bring up your “Items and Equipment” menu and then navigate to “Radial Menu Settings”. From here you can give yourself easy access to numerous items by simply holding the left bumper and pointing your right analogue stick to any of the eight options available.
It’s always important to make sure that you have quick access to items — and it’s especially helpful when you’re in intense situations to have access to healing items on the fly. Make sure you have a couple of shortcuts set to some healing items and your ever-trusty whetstone; having a ration set is good as well.
You can actually do some interesting things with the radial wheel though, such as set crafting options to a shortcut. Maybe you don’t have the materials yet, but you know you’re going to gather them during your hunt. By having this option on your shortcut, you can quickly craft said item at a flick of your analogue stick.
Lastly, by default the radial menu wheel will work by holding the left bumper and then using the right analogue stick to point to whichever option you select, then when you release the right stick, the item will be used. You can switch this setting from items activating on release to when the right-stick is pushed in. Press +, go to System, Options, Controls, then Radial Menu Settings, and from here you can change the type.
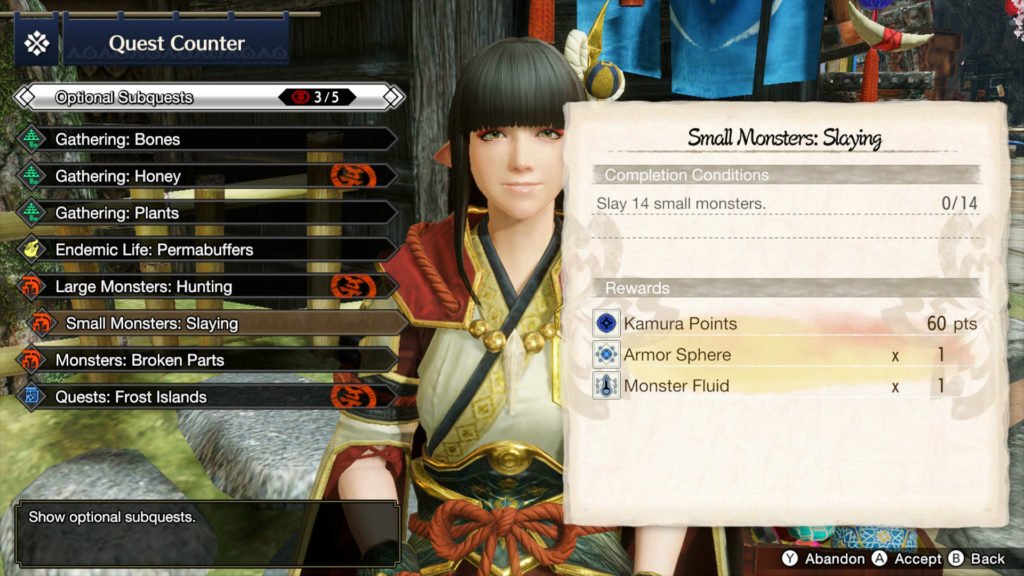
Subquests, Subquests, Subquests!
These are essentially additional small objectives that you can add onto a hunt that don’t distract too heavily away from the main meat of Monster Hunter Rise. These subquests are extremely convenient to set up and equally as beneficial to you, especially as you progress into the higher rank quests.
Monster Hunter Rise’s subquests will generally have objectives along the lines of “Kill small monsters”, “Kill a Large Monster”, “Collect 8 Mushrooms”, or “Collect 5 Types of Endemic life”, and you can have up to 5 of these subquests active at once.
Why are they so beneficial to you? Well, these quests reward you with Kamura points, which can be used to pay for the Bunny Dango before your hunt — you’ll want to keep all the money you can, so having points to pay for things is a must! You will also gain numerous materials such as mining material or monster bones. The big rewards, however, are the armour spheres, which can be used to increase the stats of your armour.
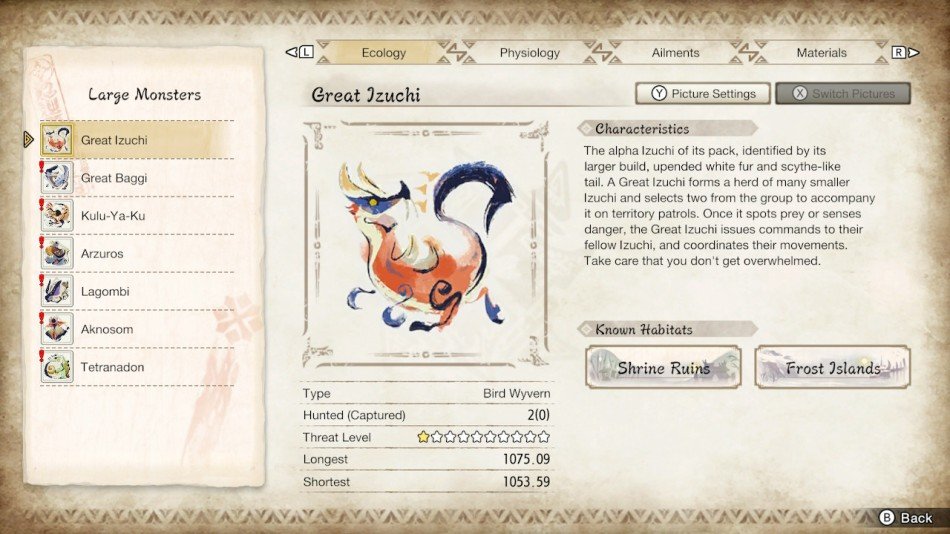
Read Your Damn Hunter Notes!
Every time you fight with a monster you will gain more information about the said monster. From there you can find out exactly what a monster is resistant to and what its weaknesses are; this is super important for farming. If you’re fighting a specific monster because you want a new armour set or weapon, you can make your life so much easier by checking your notes and equipping yourself with armour that helps against that monster’s attacks — and, of course, a weapon that the monster is weak to.
Additionally, you can see exactly what the percentages are for a specific monster’s materials. For example, let’s say you need to hunt Great Izuchi in order to get Screamer Sacs. You will be able to find out that your best chance for Screamer Sacs comes from broken part rewards as opposed to monster capture or carving rewards. Knowing this stuff really helps take away from some of the more tedious elements of grinding in the game.
Lastly, you can find out which part of a monster is weakest to your chosen type of weapon. Let’s say that you’re fighting against a Great Baggi; from the Hunter Notes you will be able to find out that it’s weakest against slashing weapons such as the Great Sword or Long Sword, and that its weakest body part is its head.
Are you a returning player from Monster Hunter World? Check out the differences between World and Rise here!
Join The Discussion
Rice Digital Discord
Rice Digital Twitter
Rice Digital Facebook
Or write us a letter for the Rice Digital Friday Letters Page by clicking here!
Disclosure: Some links in this article may be affiliate links, which means we may earn a small commission if you make a purchase after clicking on them. This is at no additional cost to you and helps support Rice Digital!


Tifa is mine.
- Hump Day Husbandos: Shu Yamino (Nijisanji EN) - September 14, 2022
- Waifu Wednesday: Eunie (Xenoblade Chronicles 3) - August 31, 2022
- LazuLight, One Year Later - August 29, 2022